
The correct way to configure an earthing switch is simple in principle but critical in execution: first match the system voltage, insulation level, short-time withstand current, fault duration, interlocking logic, installation position, and maintenance scenario, and only then choose the product model. In power systems, an earthing switch is not an accessory. It is a core safety device in high-voltage and low-voltage switchgear used to intentionally ground a circuit during shutdown, inspection, and maintenance, so residual charge is discharged, leakage risk is controlled, equipment is protected, and personnel stay safe. If you read this article carefully, you will know how to select and configure an earthing switch correctly for future projects instead of relying on price or catalog shortcuts.
What Is the Correct Way to Configure an Earthing Switch?
Start with the electrical duty, not the catalog photo.
A properly configured earthing switch must match rated voltage, insulation coordination, short-circuit withstand current, withstand time, peak current, interlocking method, mounting position, and actual maintenance workflow.
In real projects, the biggest difference between a safe panel and a risky one is often not the breaker. It is whether the grounding path was configured for the real fault and real operator behavior.
Why Earthing Switch Configuration Matters in High- and Low-Voltage Switchgear
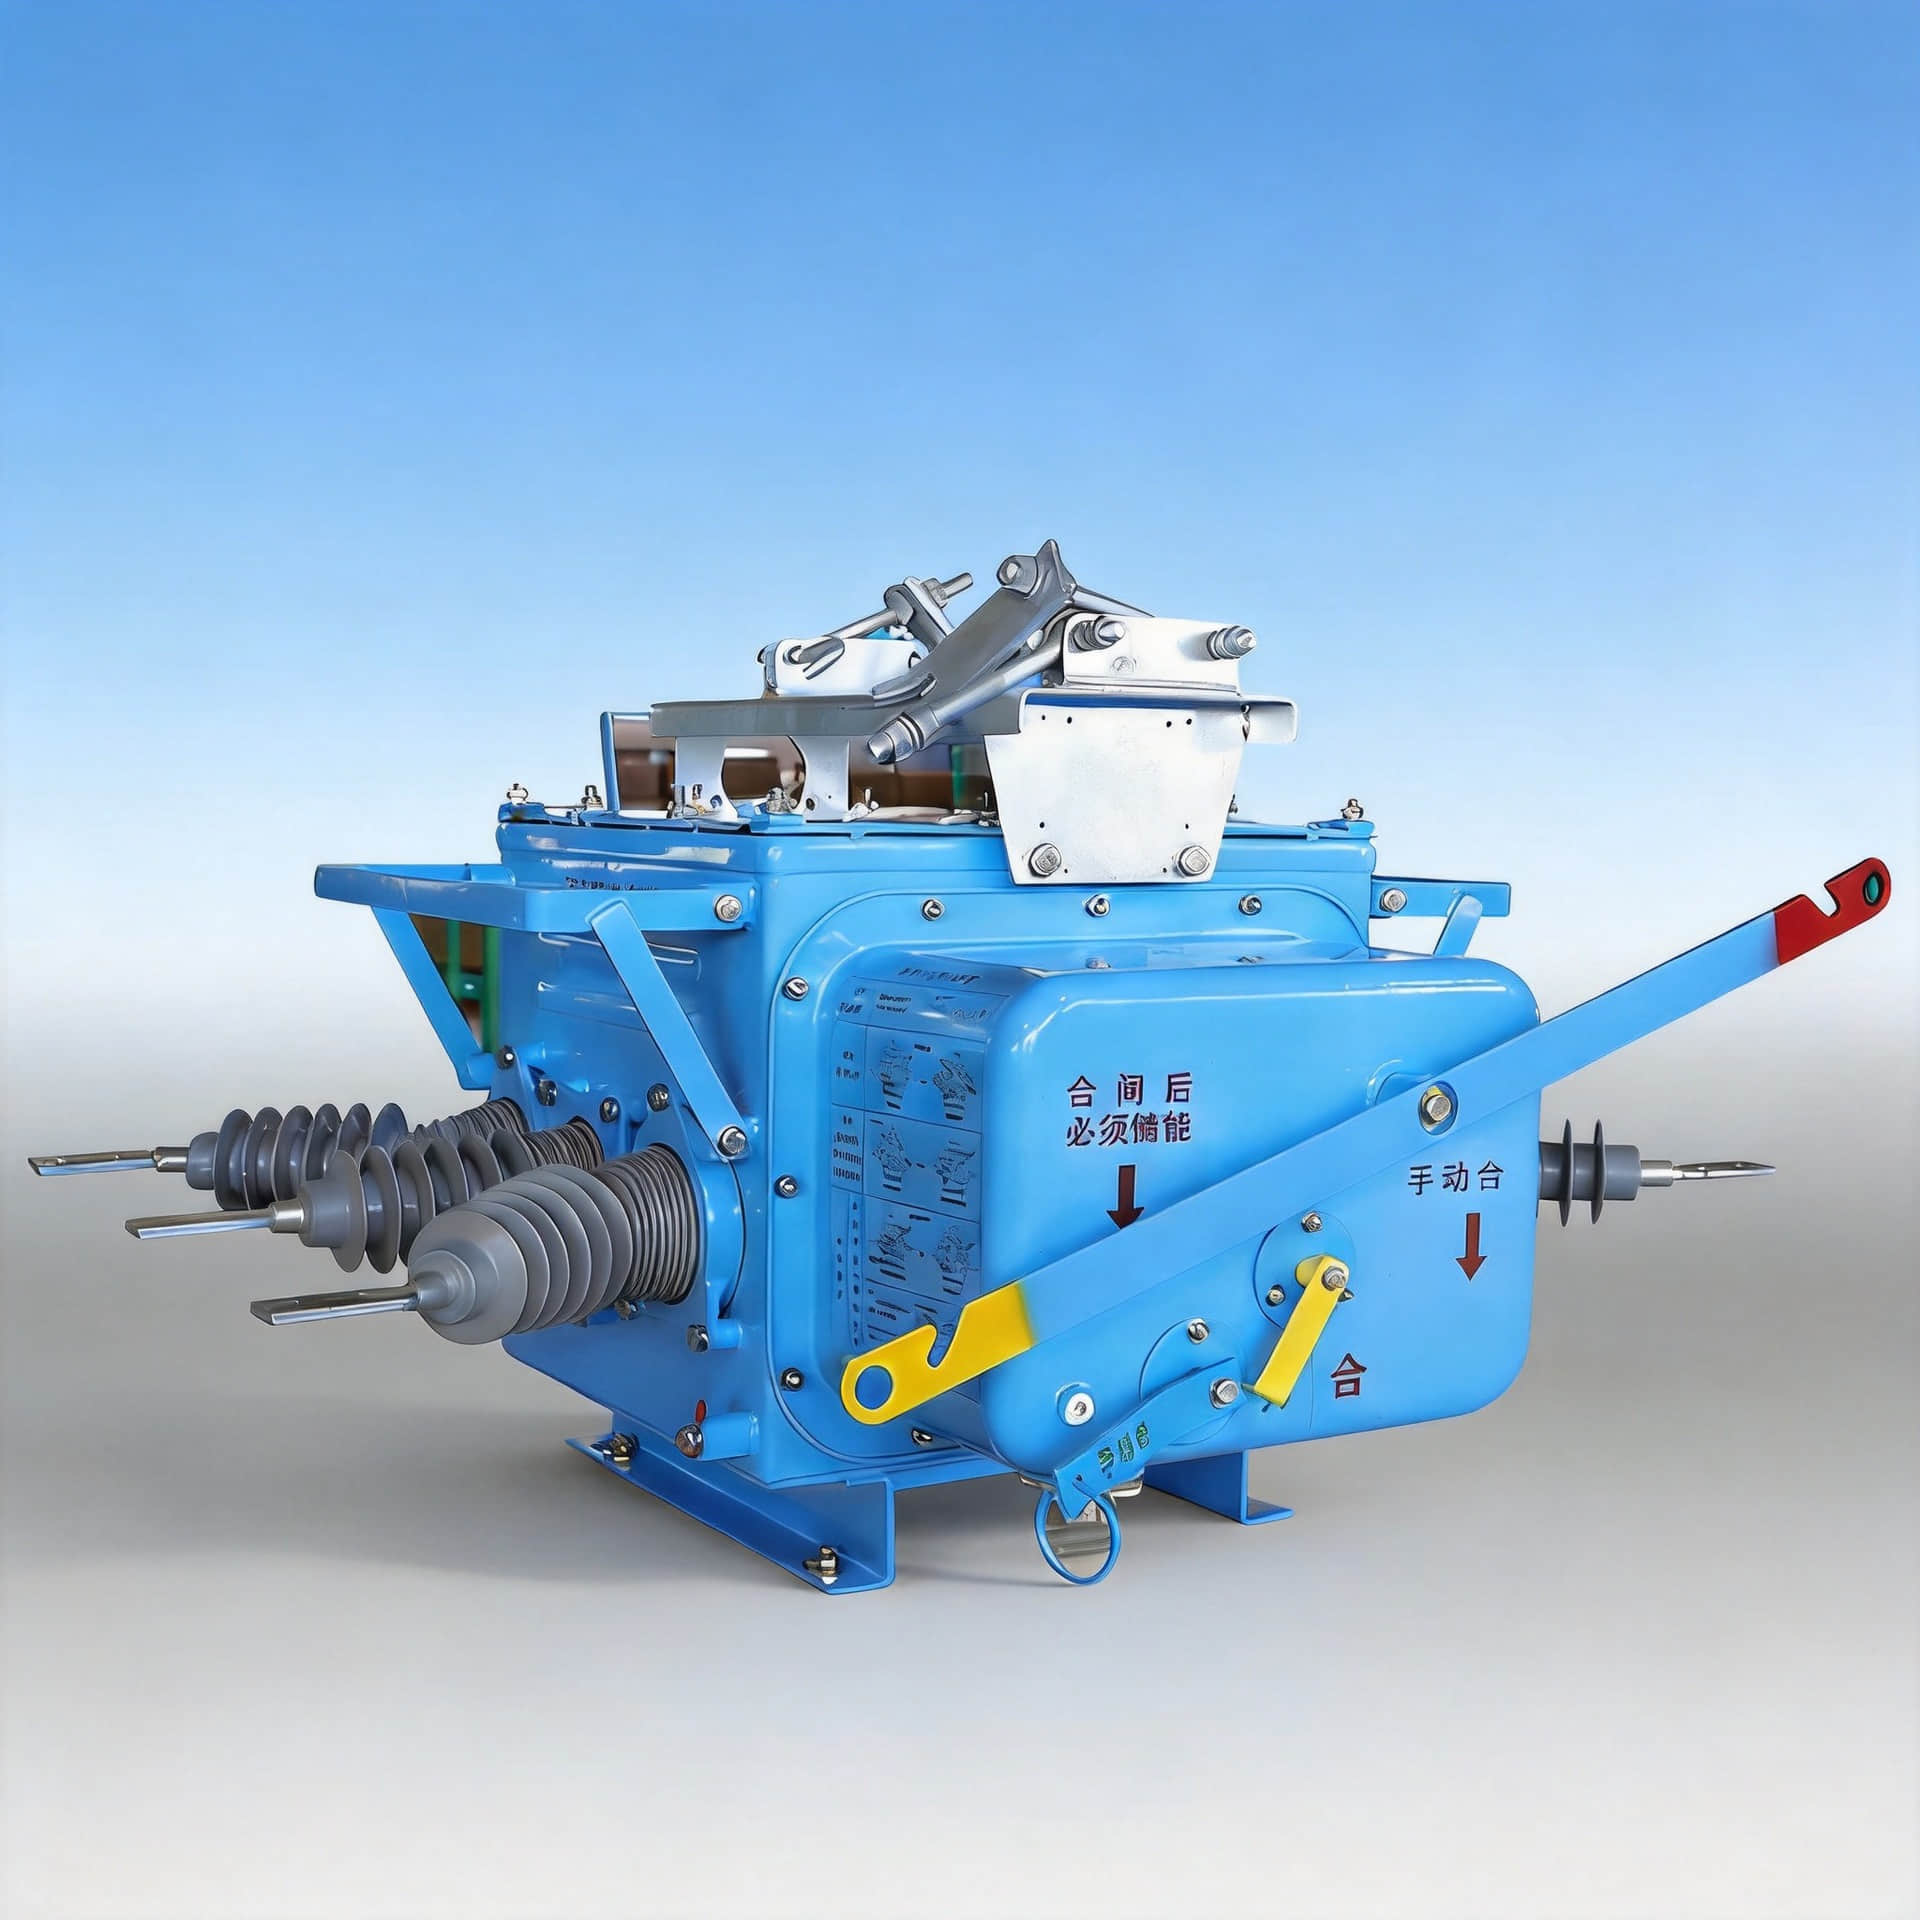
An earthing switch is designed to intentionally connect part of the circuit to earth during an outage and service work.
Its job is to discharge trapped or induced voltage, reduce electric shock risk, and protect switchgear assemblies from damage during maintenance and fault-related conditions.
Under IEC practice, this device sits within the broader safety philosophy of isolation, verification, grounding, and interlocking. Under IEEE-oriented utility practice, the same idea remains: no maintenance should rely on open isolation alone where stored or induced energy can still exist.
On-site, I have seen cable circuits remain charged long after upstream isolation. The assumption that “open means dead” is one of the most expensive mistakes in medium-voltage work.

The Biggest Configuration Mistakes Buyers and Engineers Make
Mistake one: buying on price only. A low-cost earthing switch that does not meet fault duty is not a saving. It is deferred liability.
Mistake two: ignoring the short-time withstand current and duration. Many procurement teams focus on rated voltage but skip the actual fault-duty requirement.
Mistake three: mismatching the switch with the switchgear layout. Retrofit failures often happen because the handle swing, shaft alignment, panel depth, or cable compartment clearance were never checked.
Mistake four: overlooking interlocking. If the earthing switch can be operated in an unsafe sequence with the breaker or disconnector, the design is incomplete.
Mistake five: confusing breaker capability with earthing switch capability. This happens often during tender comparison.
How to Select an Earthing Switch Step by Step
Confirm the System Voltage and Insulation Level
Select the earthing switch according to rated voltage, power-frequency withstand voltage, lightning impulse withstand voltage, and switchgear class.
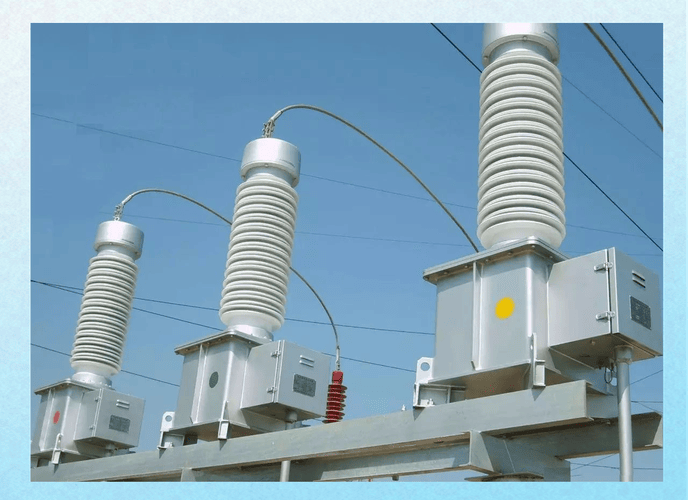
For medium-voltage assemblies, insulation coordination must align with the panel design and the project standard, typically under IEC 62271 series. If the panel is built for 12 kV, 24 kV, or 40.5 kV class, the earthing switch cannot be treated as a generic part.
Calculate Short-Circuit Withstand Current and Duration
This is where many unsafe selections start.
You must match the switch to the expected short-time withstand current and the required duration, commonly 1 s or 3 s, based on actual system fault studies. In utility and industrial projects, the available fault current at the installation point can be very different from the upstream source rating.
Where the application requires closing onto a fault, also verify the making capacity. Not every earthing switch is designed for that duty.
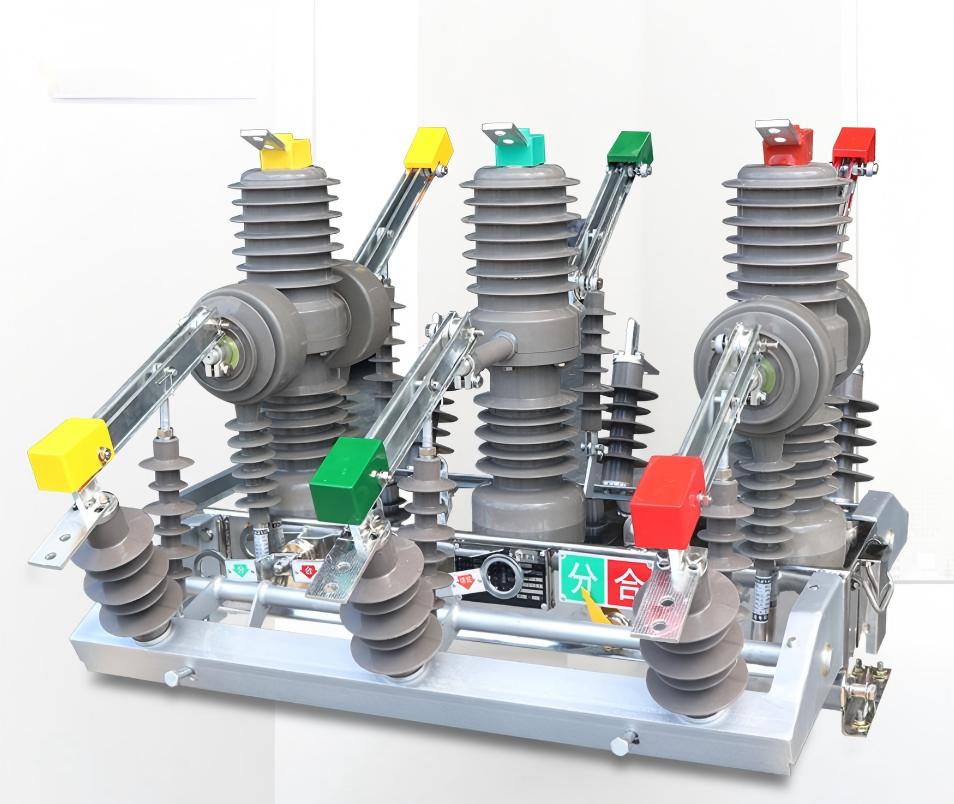
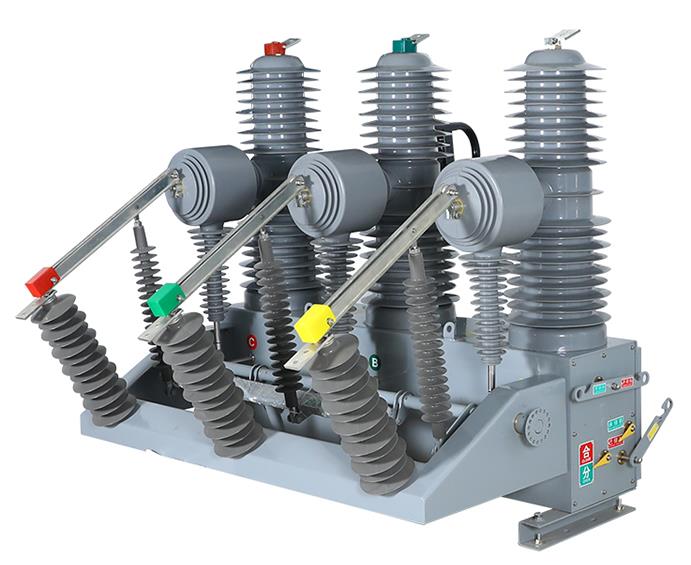
Define the Installation Location in the Switchgear
The grounding target determines the configuration.
Typical installation points include cable side, busbar side, line side, and feeder compartment. The correct location depends on the isolation strategy, maintenance procedure, and where the trapped charge or backfeed risk is most likely.
In cable-fed RMU and metal-enclosed switchgear, cable-side grounding is often preferred because operators want the cable termination area visibly secured before work begins.
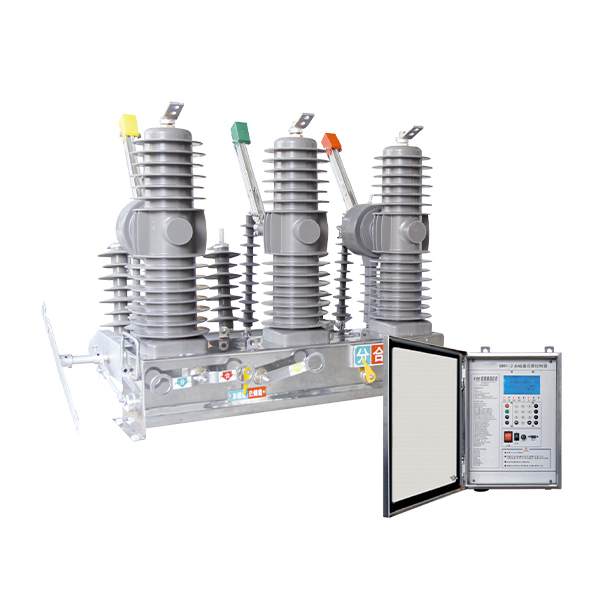
Choose the Right Operating Mechanism
Manual operation is common where operation frequency is low and procedures are tightly controlled.
Spring-assisted mechanisms improve closing speed and consistency. Motorized mechanisms are suitable where remote or frequent operation is required, but they increase logic and maintenance complexity.
For most indoor distribution panels, I prefer simple mechanical solutions unless the site really needs automation. Fewer moving layers usually means fewer ambiguous failure modes during outages.
Verify Interlocking Requirements
The earthing switch must not close in an unsafe sequence.
Use a mechanical interlock, a key interlock, an electrical interlock, or a combined scheme so the switch cannot be operated when the disconnector or circuit breaker is in the wrong position. Older panels with worn key systems deserve special caution.
IEC switchgear practice strongly supports fail-safe operating sequences. Good design assumes that at some point, someone will try to move the wrong handle under pressure.
Check Dynamic and Thermal Stability
Fault events create both thermal stress and electrodynamic force.
The earthing switch must survive the heating effect of fault current and the peak mechanical shock that occurs during the first current loop. This is why peak withstand current matters, not just RMS short-time current.
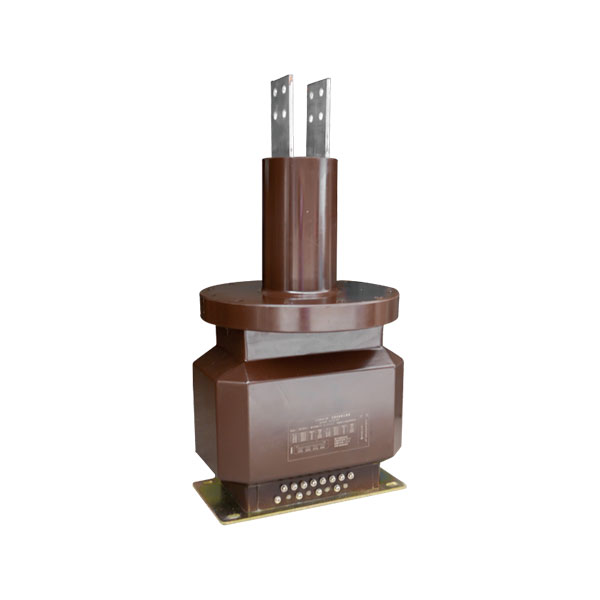
Evaluate Environmental Conditions
Check altitude, humidity, dust, condensation, salt spray, corrosive gas, seismic conditions, and indoor or outdoor location.
A switch that performs well in a clean indoor substation may age quickly in a coastal plant, mining site, or chemical facility. At altitude, insulation performance changes and should be corrected per project requirements.
Confirm Compliance With IEC/GB/Utility Standards
Configuration should align with IEC, GB, utility technical specifications, and the project acceptance criteria.
For medium-voltage switchgear, buyers commonly ask for compliance with IEC 62271-1 and related product standards such as IEC 62271-200 for metal-enclosed switchgear. Where local utility standards are stricter, those must govern the final configuration.

Earthing Switch Configuration Checklist for Switchgear Projects
Rated voltage matches system class
Insulation level matches panel coordination
Short-time withstand current matches the site fault level
Withstand duration confirmed at 1 s or 3 s as required
Peak withstand current verified
Making capacity verified if required
Installation side defined: cable, busbar, feeder, line
Interlocking logic checked with breaker/disconnector
Mechanical fit confirmed with panel drawings
Type test reports available
Site environment evaluated
Maintenance access and visible indication confirmed
Recommended Configuration Table by Application Scenario
Table: Typical Earthing Switch Selection by Voltage Class and Use Case
| Application | Rated Voltage | Short-Time Withstand Current | Operating Method | Interlocking Type | Installation Side |
|---|---|---|---|---|---|
| Low-voltage switchboard grounding section | Up to 1 kV | Per system fault study | Manual | Mechanical | Feeder side |
| 12 kV indoor metal-enclosed switchgear | 12 kV | 20 kA/1 s to 31.5 kA/3 s | Manual or spring-assisted | Mechanical + key | Cable side |
| 24 kV distribution panel | 24 kV | 20 kA/1 s to 25 kA/3 s | Spring-assisted | Mechanical + electrical | Cable or busbar side |
| 40.5 kV utility switchgear | 40.5 kV | 25 kA/3 s to 31.5 kA/3 s | Motorized or spring-assisted | Full interlocking scheme | Line or busbar side |
| Ring main unit cable compartment | 12 kV or 24 kV | 16 kA/1 s to 20 kA/1 s | Manual | Mechanical | Cable side |
| Industrial plant retrofit panel | Project specific | Must be recalculated | Usually manual | Key interlock preferred | Based on available space |
Real-World Field Issues Discussed by Industry Engineers Online
Across community discussions by operators, maintenance staff, contractors, and plant engineers, the recurring message is clear: the risk is rarely the idea of grounding itself, but the gap between nameplate assumptions and field reality.
The most useful feedback often comes from non-design personnel. They are the ones standing in front of the panel during outages, with gloves on, under time pressure, in poorly lit rooms, trying to decide whether the circuit is truly safe.
Operators Often Discover Residual Voltage Even After Isolation
This point appears repeatedly in field discussions.
Operators report residual or induced voltage on disconnected cable circuits, especially in long runs, capacitive networks, VFD-related installations, and panels located next to energized conductors. Several users described proving dead, then still seeing measurable voltage appear again due to induction.
This is exactly why an earthing switch must be considered part of the safety sequence, not a symbolic accessory.
Interlock Design Is a Frequent Complaint in Older Switchgear
Many complaints center on worn key interlocks, unclear sequence labels, and mechanical play after years of service.
A common field pain point is that crews begin to “work around” stiff or unreliable interlocks. Once manual bypass becomes normal, the original safety concept is already broken.
Nameplate Ratings Are Often Misread During Procurement
Buyers often confuse the breaker interrupting rating with the earthing switch short-time withstand or making duty.
This leads to purchases that look correct on paper but fail the real fault-duty check. In tenders I have reviewed, this is one of the most common technical comparison errors.
Cable Compartment Space Constraints Cause Installation Problems
Retrofit teams repeatedly mention that the earthing switch handle travel, shaft line, door clearance, and cable lug space were not checked early enough.
The result is familiar: the selected switch technically meets electrical duty but physically does not fit the panel, or it blocks safe cable termination work.
Maintenance Teams Value Visible Grounding Confirmation
One of the strongest practical preferences is clear, visible status indication.
Maintenance teams trust designs more when the grounding state is obvious from the front of the panel and can be locked during lockout/tagout. Visual certainty reduces hesitation and human error.

Common Earthing Switch Failures, Causes, and Fixes
Table: Failure Mode vs. Root Cause vs. Recommended Action
| Failure Mode | Root Cause | Recommended Action |
|---|---|---|
| Overheating at contacts | Poor alignment, low contact pressure, contamination | Check contact travel, clean the contact area, re-adjust the mechanism, and verify resistance |
| Interlock fails to engage | Wear, incorrect assembly, damaged key system | Rebuild interlock, replace worn parts, test full sequence before return to service |
| Incomplete closure | Mechanical obstruction, shaft misalignment, insufficient spring force | Inspect clearances, correct alignment, and replace spring or linkage components |
| Corrosion on the mechanism | Humidity, salt, chemical atmosphere, poor coating | Upgrade material/coating, improve enclosure sealing, and increase inspection frequency |
| Contact wear | Frequent operation, fault-duty stress, improper material match | Replace contact set, verify duty class, review operating practice |
| Misoperation by staff | Unclear labels, poor indication, weak procedures | Improve labeling, add position indication, retrain operators, and strengthen lockout rules |
| Cannot fit in the retrofit panel | Panel depth and handle travel have not been reviewed | Recheck drawings, use customized mounting interface, verify service clearance |
Key Technical Parameters to Compare Before Buying
Rated Voltage
This defines the system voltage range for which the earthing switch is designed.
Never assume a similar-looking switch can be used across voltage classes.
Short-Time Withstand Current
This is the RMS current the switch can tolerate for a specified time under fault conditions.
It is one of the most important parameters for safety selection.
Peak Withstand Current
Peak current determines whether the switch can survive the highest electrodynamic force during a fault.
Ignoring peak duty is a hidden design weakness.
Making Capacity
Some applications require the earthing switch to close onto a fault or induced voltage condition.
If that duty exists, the making capacity must be explicitly specified and tested.
Mechanical Endurance
This measures expected operating life over repeated operations.
For frequent switching environments, endurance directly affects maintenance cost and reliability.
Interlocking Scheme
Compare key interlock, mechanical linkage, and electrical interlock options.
The best choice depends on the operating sequence, remote control logic, and whether the site values simplicity over automation.
Installation and Commissioning Best Practices
Verify Torque, Alignment, and Contact Travel
Many early failures are installation-caused, not manufacturing-caused.
Check shaft alignment, terminal torque, mechanism stroke, and final contact engagement against the drawing and test procedure.
Test Interlock Logic Before Live Operation
Never trust interlocks by visual inspection alone.
Test the full breaker-disconnector-earthing switch sequence under actual site logic before energization. Every impossible sequence should remain impossible.
Perform Contact Resistance and Mechanical Operation Tests
Record baseline data during commissioning.
Contact resistance tests, repeated mechanical operations, and position verification provide a useful benchmark for later maintenance.
Label the Grounding State Clearly for Maintenance Teams
Use unmistakable position labels and operating instructions on the panel front.
When a maintenance crew approaches the cubicle, they should understand the grounding state in seconds, not minutes.
Earthing Switch vs Grounding Switch vs Disconnector: What Buyers Need to Know
Earthing switch and grounding switch are often used interchangeably in English procurement language.
Both refer to a device intended to connect part of the circuit to earth for safety purposes. A disconnector, by contrast, is primarily an isolation device. It creates visible or functional isolation but does not by itself provide intentional grounding.
This distinction matters in search behavior and in tenders. Isolation and grounding are related, but they are not the same protective function.
How to Choose the Right Earthing Switch Supplier
Ask for Type Test Reports and Short-Circuit Test Evidence
Do not rely on catalog claims only.
Request type test reports, short-circuit test evidence, and compliance documentation tied to the offered model. Serious suppliers can provide this quickly.
Review Project References in Similar Industries
Look for references in utilities, substations, industrial plants, renewable projects, and OEM switchgear manufacturing.
A supplier with real field history usually understands panel integration issues better than a trader who only forwards datasheets.
Check Customization Capability for Complete Switchgear Panels
This matters more than many buyers expect.
If dimensions, shaft direction, interlock arrangement, mounting holes, or operating position need adjustment, the supplier must be able to customize for the complete high-voltage or low-voltage switchgear assembly.
Fast Buyer’s Checklist for Earthing Switch Configuration
Table: Parameter, Why It Matters, Minimum Check Required
| Parameter | Why It Matters | Minimum Check Required |
|---|---|---|
| Rated voltage | Basic compatibility with the system class | The match panel rated voltage exactly |
| Insulation level | Protection against overvoltage stress | Verify power-frequency and impulse withstand levels |
| Short-time withstand current | Survival during fault current flow | Compare with the system fault study |
| Fault duration | Thermal duty requirement | Confirm 1s or 3 s project basis |
| Peak withstand current | Dynamic mechanical survival | Verify the manufacturer-tested value |
| Making capacity | Safe closing duty where required | Confirm explicit rating if the application needs it |
| Interlocking | Prevents unsafe operation sequence | Check full logic with breaker/disconnector |
| Environment | Affects corrosion and insulation performance | Review altitude, humidity, pollution, indoor/outdoor use |
| Standards | Compliance and acceptance | Confirm IEC/GB/utility/project specifications |
| Maintenance access | Safe inspection and operation | Verify handle travel, visibility, clearance, and labeling |

FAQ
How do I choose the correct earthing switch rating for my switchgear?
Start with the switchgear voltage class, insulation level, site short-circuit current, and required fault duration. Then confirm the installation position, peak withstand current, and whether making capacity is required for the application.
Can an earthing switch close onto a live circuit?
Only specific designs with declared making capacity and the correct interlocking concept may be used for that duty. A standard earthing switch should never be assumed capable of closing onto a live or faulted circuit unless the manufacturer’s tested rating explicitly allows it.
What is the difference between an earthing switch and a disconnector?
An earthing switch provides intentional grounding for safety during maintenance. A disconnector provides isolation. One grounds the circuit, the other separates it, and many safe switchgear designs need both functions working in the correct sequence.
Where should an earthing switch be installed in a switchgear panel?
Common positions include the cable side, busbar side, line side, or feeder side. The correct location depends on your maintenance strategy, where residual voltage may remain, and which part of the circuit must be secured before personnel begin work.
What standards apply to earthing switch configuration?
Projects commonly reference IEC standards, GB standards, utility technical requirements, and panel-specific project specifications. For medium-voltage assemblies, the IEC 62271 series of documents is especially important, along with customer acceptance rules and local electrical codes.
How often should an earthing switch be inspected and maintained?
The interval depends on operation frequency, environment, fault exposure, and manufacturer guidance. In clean indoor installations, periodic inspection may be sufficient, while coastal, dusty, or high-duty sites usually need more frequent checks of contacts, mechanisms, interlocks, and corrosion conditions.
What are the most common site problems after installation?
The most common issues are poor alignment, failed or unclear interlocks, incorrect labeling, insufficient clearance for operation, and unverified fault-duty assumptions. These are mostly preventable if commissioning is done thoroughly and the switch is selected based on real-site data rather than catalog similarity.
Conclusion: Configure Earthing Switches for Safety, Compliance, and Long-Term Reliability
The right earthing switch configuration is not decided by price alone.
It depends on voltage class, insulation level, short-circuit duty, peak current, interlocking logic, installation context, environmental conditions, and the way real maintenance teams actually work. When these are matched correctly, the earthing switch does exactly what it is supposed to do: discharge residual charge, reduce leakage and shock risk, protect the complete switchgear assembly, and protect the people standing in front of it.
If you want fewer retrofit problems, fewer commissioning surprises, and safer outage procedures, configure grounding from the beginning of the switchgear design, not at the end of procurement.
Need Help Selecting the Right Earthing Switch for Your Switchgear Project?
If you are comparing models, checking fault-duty matching, reviewing drawings, or customizing high-voltage or low-voltage switchgear panels, our team can help.
Send us your inquiry for model selection, technical matching, dimension confirmation, interlock design review, and customized switchgear solutions. If you want faster communication, you can also contact us directly through WhatsApp.