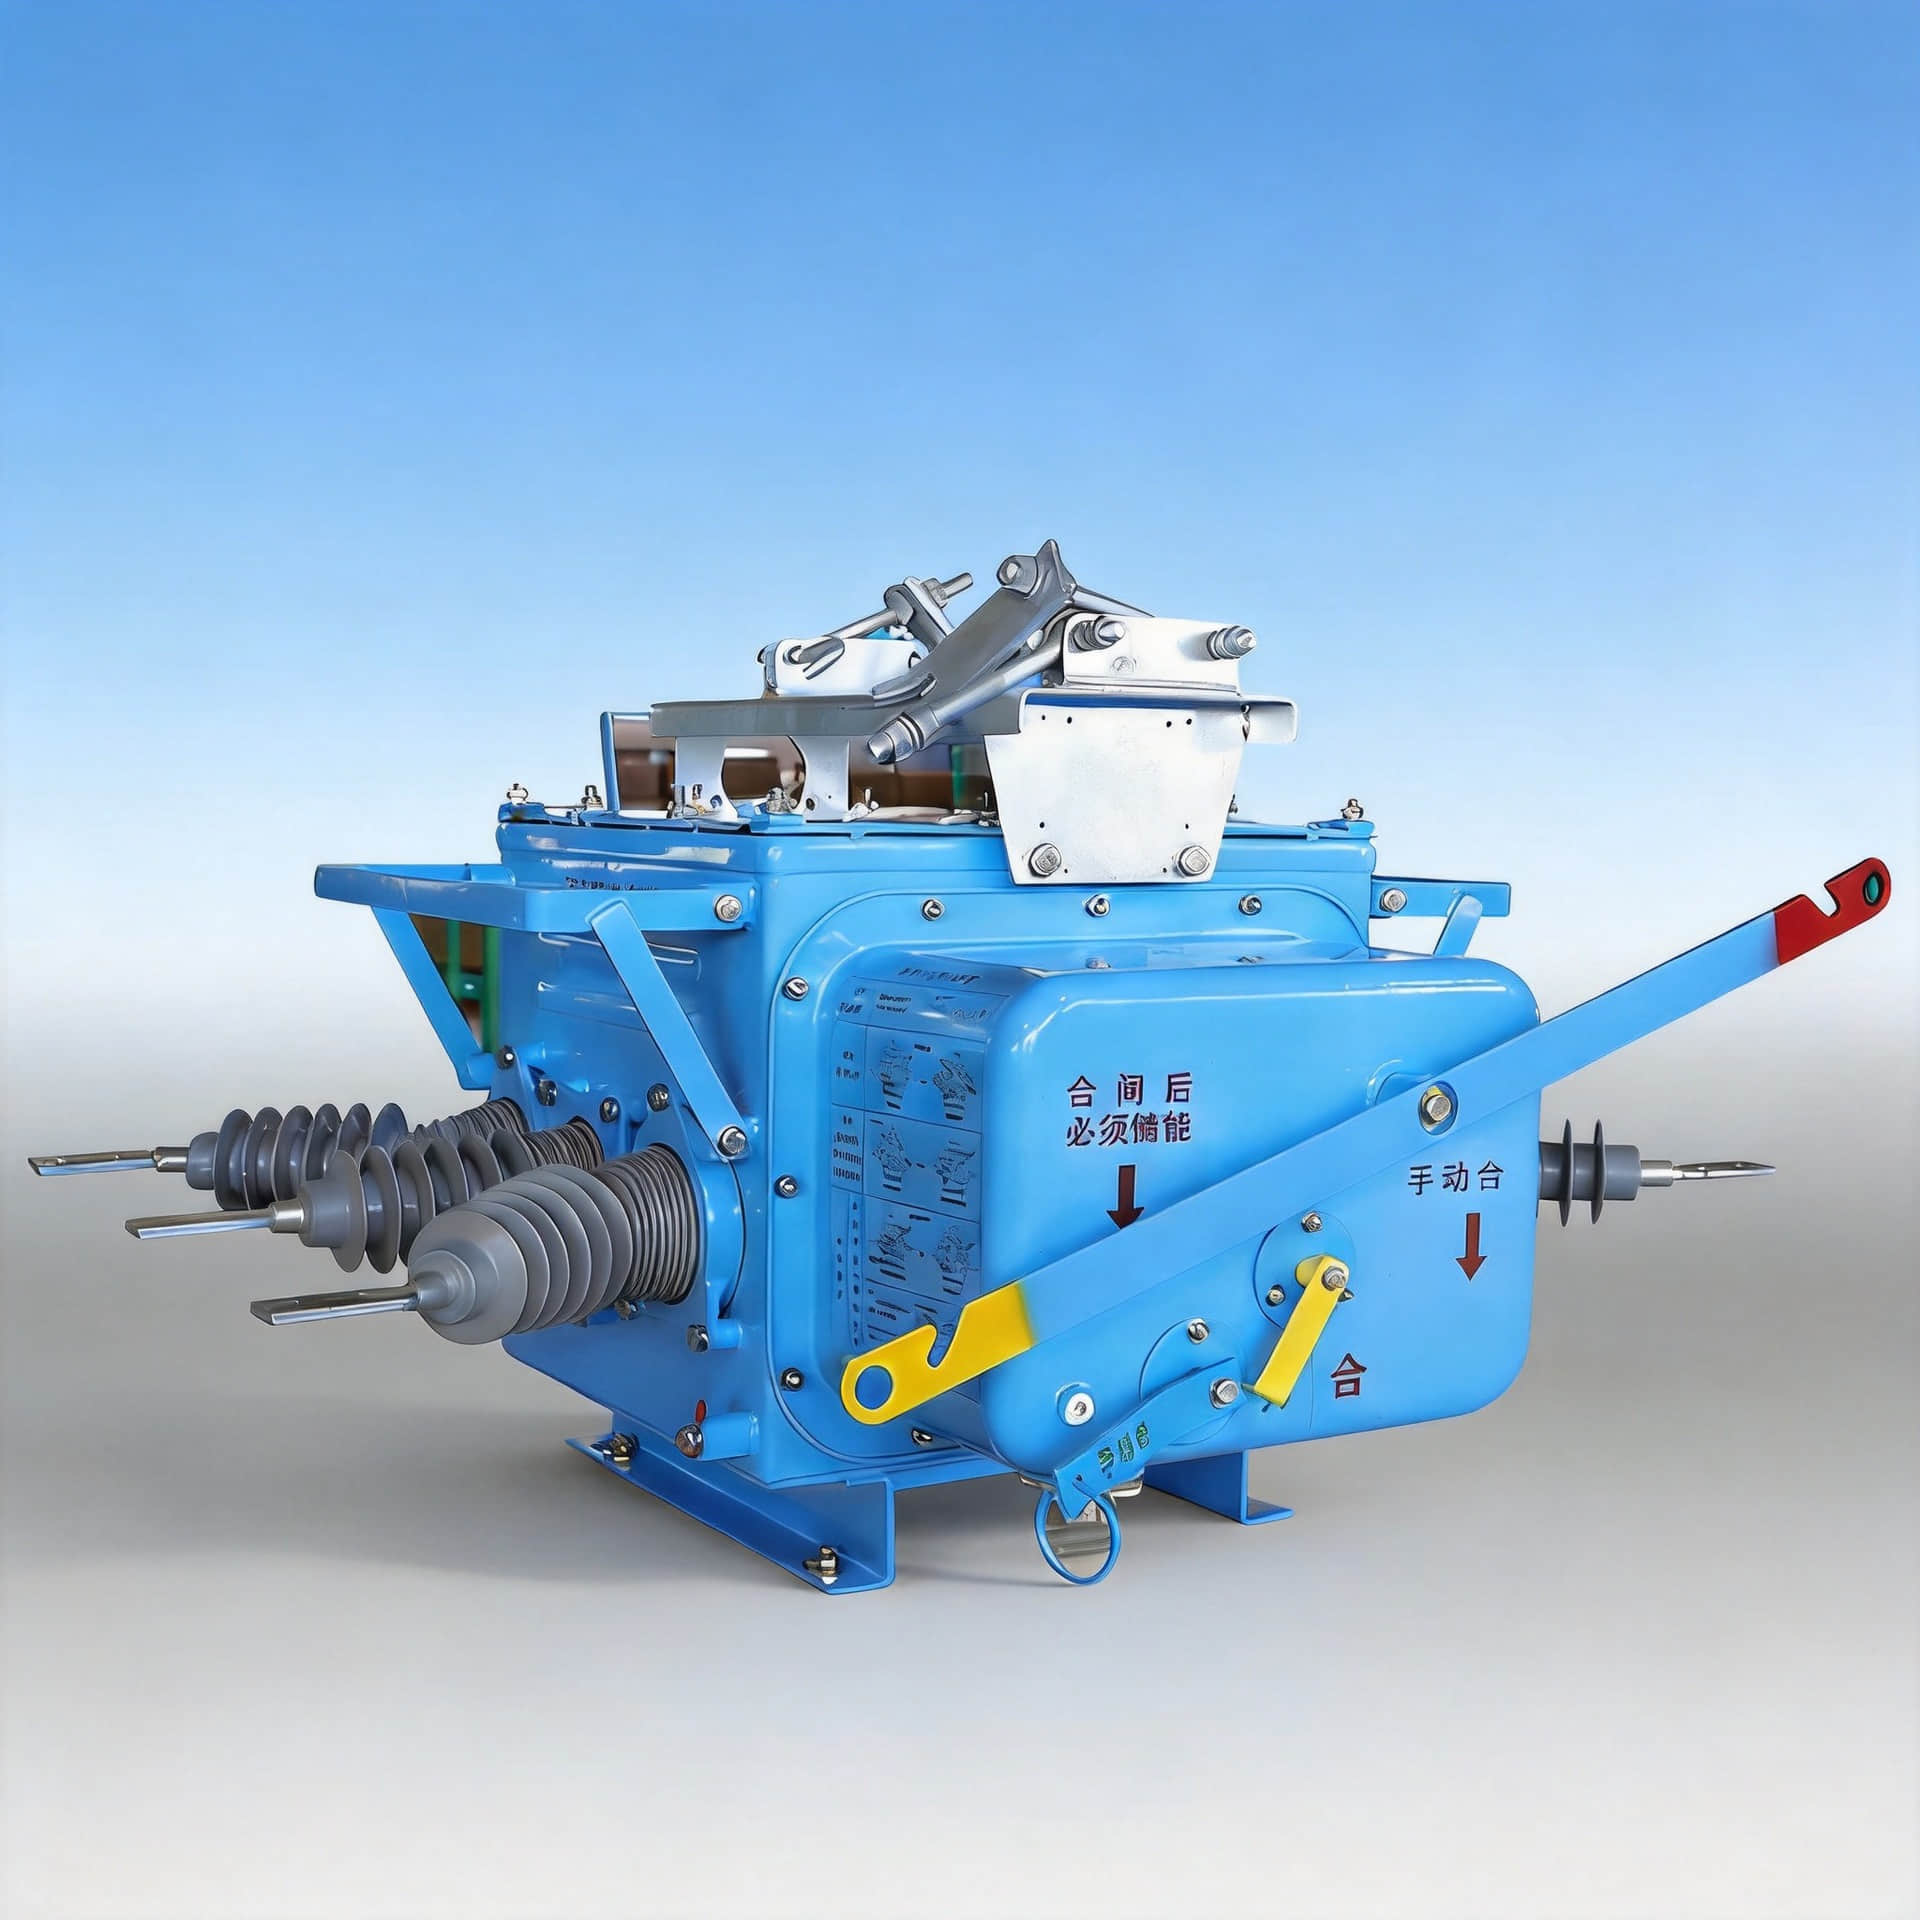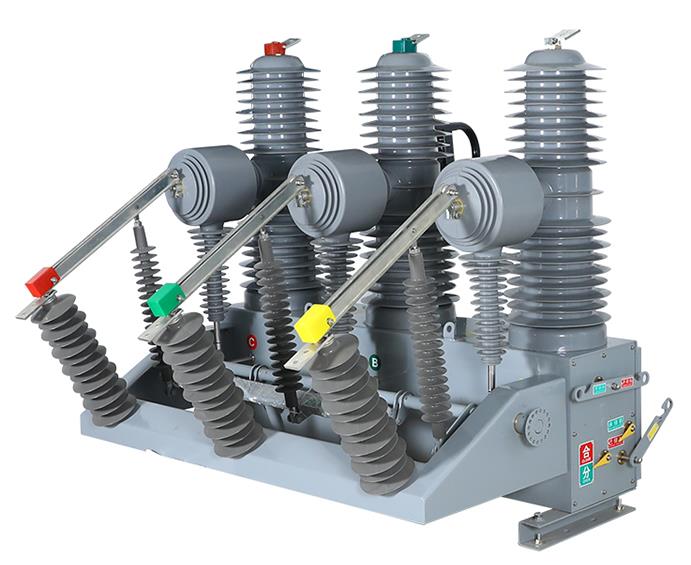

If a drop-out fuse will not close, the cause is usually not mysterious. In real fieldwork, most failures come from three things first: bad force transmission, wrong installation angle, and loose crossarm or bracket support. If the closing push is weak or off-path, the fuse tube cannot enter the latch. If the unit is mounted too vertically, gravity fights the mechanism. If the support shakes, the force goes into the structure instead of the locking point. Read this article, and you will know exactly how to analyze a drop-out fuse closing failure on site, in the right order, without wasting time replacing good parts.
Why a Drop-out Fuse Will Not Close: 3 Root Causes You Must Check First
The fastest answer is this: force, angle, support.
In repeated field inspections, I have seen crews change fuse tubes, clean contacts, and even suspect upstream electrical issues, while the real problem was a bracket moving 3 to 5 mm under hot-stick pressure. That tiny movement was enough to stop latch engagement.
For practical drop-out fuse closing failure analysis, check these first:
Insufficient closing force
Installation too close to vertical
Loose crossarm, bracket, or mounting hardware
What This Article Helps You Diagnose On Site
This article shows how to identify causes of fuse cutout not closing in the field.
You will learn what to inspect from the ground, what to verify at close range, what symptoms matter, and what mistakes cause repeat failures. The goal is simple: find the mechanical reason before replacing components.
What “Drop-out Fuse Closing Failure” Means in Field Operations
A closing failure means the fuse cutout does not enter and stay in the locked operating position.
Typical symptoms include:
The fuse tube rises but does not latch
It touches the hook and rebounds
It appears aligned but slips out
The upper contact does not fully seat
The operator feels abnormal resistance before lock-in
In most medium-voltage outdoor systems, this is a mechanical issue first, not an electrical one.
Quick Diagnostic Table: Symptom vs Most Likely Cause
| Visible Symptom | Most Likely Cause | First Check |
|---|---|---|
| Reaches latch area but will not snap in | Insufficient closing force | Hot-stick angle, push path, hinge friction |
| Repeated rebound after near-closing | Near-vertical mounting | Measure installation inclination |
| Whole assembly moves during closing | Loose crossarm or bracket | Watch hardware during applied force |
| Uneven seating or side rubbing | Contact misalignment | Check upper and lower alignment line |
| Stiff motion and drag | Hinge wear, oxidation, contamination | Inspect hinge contact surfaces |

Root Cause 1: Insufficient Closing Force Prevents the Fuse Tube From Entering the Latch
The fuse tube must travel through resistance and then cross the final locking point.
If the applied push is not strong enough, or not directed along the mechanism path, the tube reaches the hook area but never seats. This is one of the most common troubleshooting fuse cutout contact failure findings on site.
Field Clue: It Reaches the Hook but Will Not Snap In
This is the classic field symptom.
The fuse looks “almost closed.” But the last 10 to 20 mm of travel is where many failures happen. I have tested this on aged overhead cutouts where a slight increase in hinge drag changed a successful close into repeated kickback.
Hidden Cause: Operator Technique, Hot-stick Angle, and Friction Loss
Not every failed close means a defective fuse cutout.
If the hot-stick is too low, too side-loaded, or not aligned with the tube axis, part of the effort becomes sideways force. The remaining effective push may be too small to engage the latch.
Common hidden losses:
Push point not centered
Hot-stick angle too flat
Side twist during final lift
Hinge friction from oxidation or burrs
Operator hesitating at the final locking moment
IEEE and IEC-aligned maintenance practice both support checking mechanical freedom, alignment, and contact condition before concluding part failure. That approach fits the intent of inspection discipline seen across IEEE C37 series equipment practices and IEC high-voltage switchgear and controlgear mechanical verification principles.
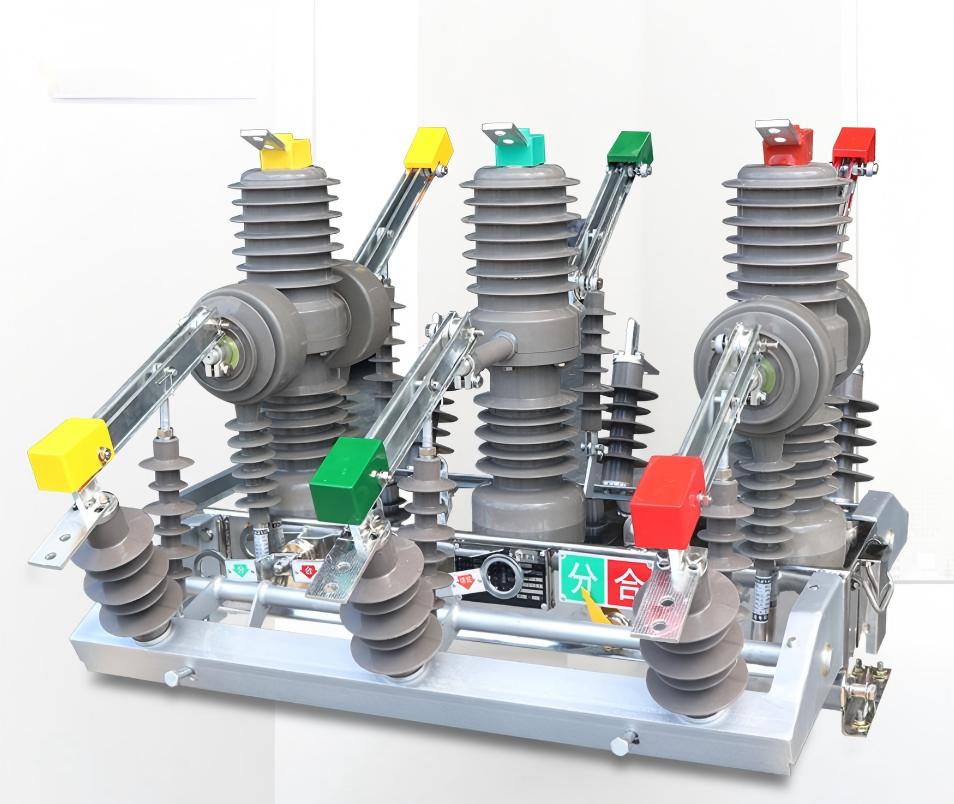
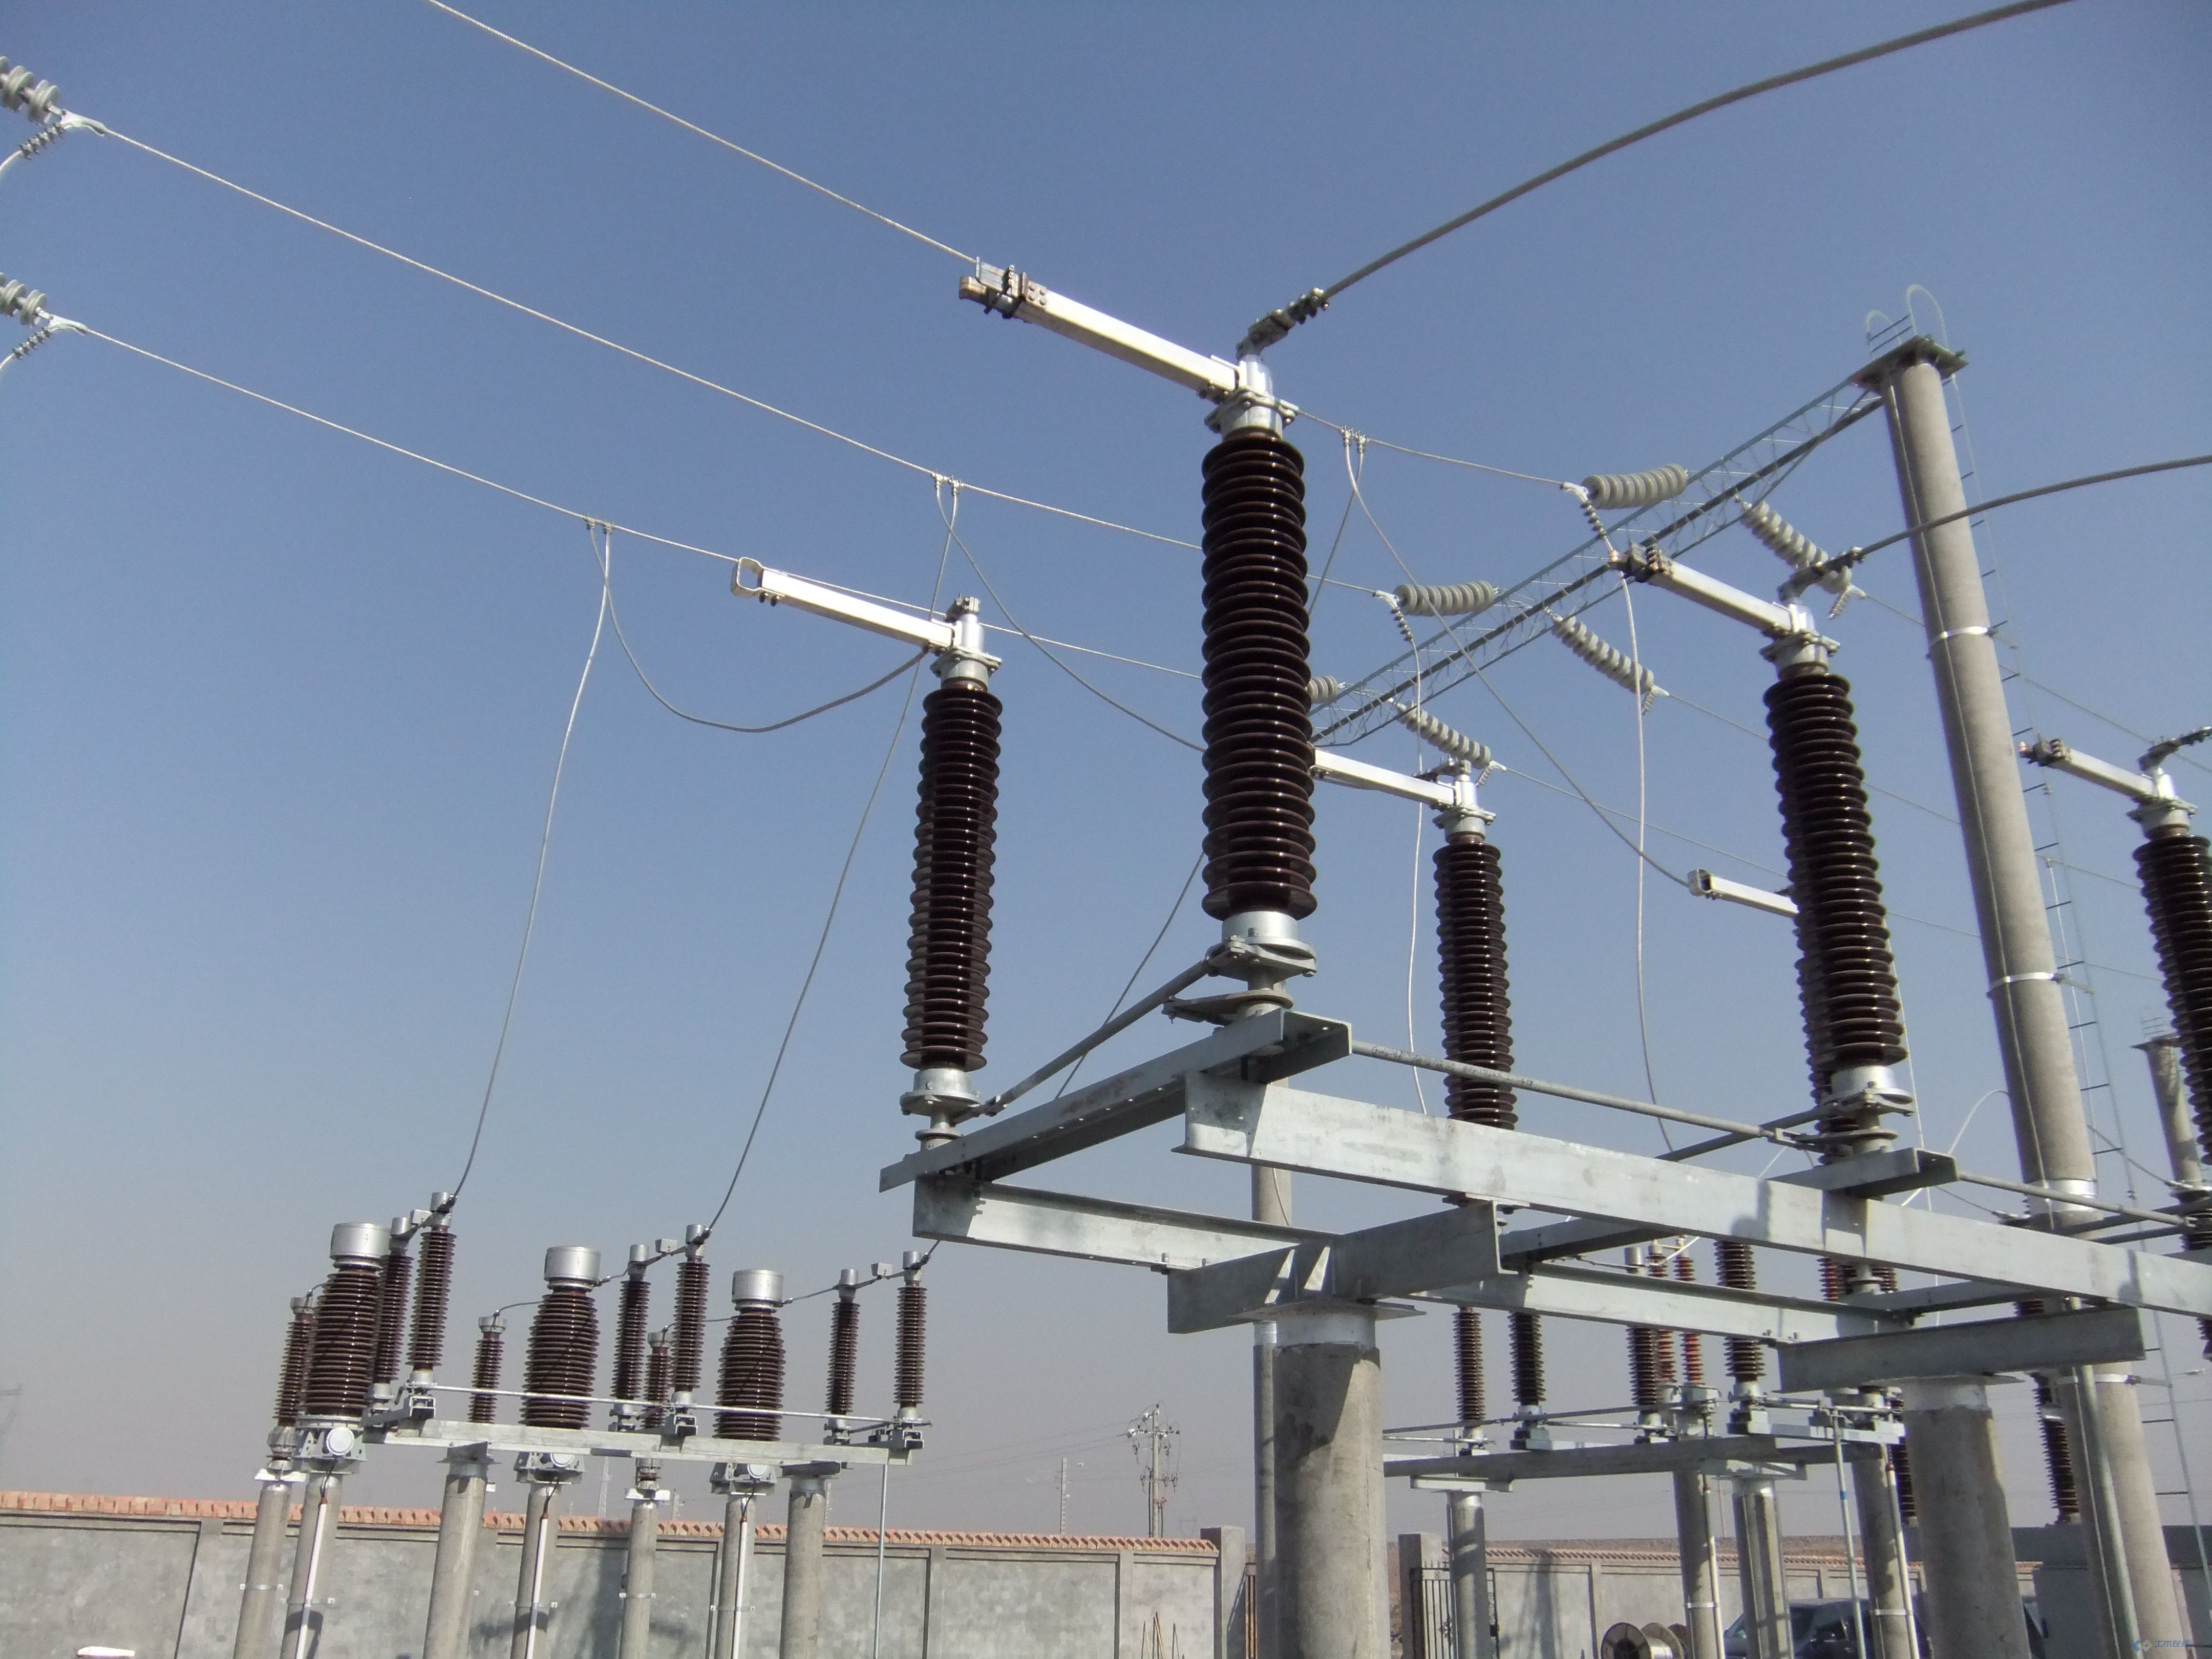
Root Cause 2: Incorrect Installation Angle Causes the Mechanism to Fight Gravity
This cause is underestimated.
When the drop-out fuse is installed too vertically, the geometry changes. The closing effort no longer works with the mechanism. Instead, gravity and latch geometry oppose the final movement.
Recommended Installation Angle: About 25 Degrees Inclined
Practical field reference: about 25° inclined.
Not overly vertical. This angle helps the fuse tube move into the latch with a more favorable force path and more reliable seating.
On retrofit lines, I have seen old poles where replacement brackets were mounted nearly straight up for convenience. Those sites had visibly higher closing difficulty than neighboring poles with a proper inclined setup.
Field Comparison Table: Vertical Mounting vs 25° Inclined Mounting
| Condition | Near-Vertical Mounting | About 25° Inclined Mounting |
|---|---|---|
| Closing effort | Higher | Lower and more direct |
| Latch success rate | Less consistent | More consistent |
| Contact seating stability | Marginal in worn units | Better |
| Operator difficulty | Higher | Lower |
| Rebound tendency | More common | Reduced |
Root Cause 3: Loose Crossarm or Bracket Spreads the Force and Prevents Locking
This is the field issue many teams miss.
If the support moves before the fuse locks, the applied force is being absorbed by the structure. The operator may feel they are pushing hard, but the mechanism is receiving only part of that energy.
Site Detail Often Missed: The Hardware Moves Before the Fuse Locks
Non-specialists often watch only the fuse tube.
Experienced crews watch the bracket, insulator base, bolts, and crossarm at the same time. If the structure flexes first, that is your clue. In one coastal installation I inspected, corrosion at the bracket seat allowed slight rotation under load. The fuse was replaced twice before anyone noticed the support movement.
Inspection Table: Support Structure Points to Check Before Replacing the Fuse
| Inspection Point | What to Look For | Why It Matters |
|---|---|---|
| Mounting bolts | Looseness, missing washers, uneven torque | Causes force loss during closing |
| Bracket welds | Cracks, rust lines, partial separation | Creates flex under load |
| Crossarm condition | Bending, decay, deformation | Shifts alignment and absorbs push force |
| Insulator base | Movement, tilt, looseness | Changes contact path |
| Corrosion zones | Section loss, scale, hidden weakness | Reduces rigidity and repeatability |

Other Mechanical Causes of Fuse Cutout Not Closing
Beyond the top three, several mechanical faults can mimic the same symptom.
These are often confused with electrical trouble, especially when the unit looks intact from the ground.
Hinge Contact Wear and Oxidation
Worn hinge contacts add drag and reduce stable movement.
Oxidation can also create roughness at the pivot or seating point. Mechanically, that matters just as much as electrically. The tube may not swing and rise smoothly enough to enter the latch.
Latch Deformation or Contact Misalignment
A small bend can stop the final engagement.
The hook may look normal at a distance, but slight deformation changes the capture angle. If the upper contact and latch line are not centered, the tube can hit, rub, and bounce back.
Fuse Tube Damage, Moisture, or Contamination
Outdoor service creates ugly realities.
Dust, salt, moisture, carbon residue, insect deposits, and surface swelling can all affect movement. In humid coastal or industrial areas, contamination changes both friction and fit. That is a real factor in medium voltage drop-out fuse operation issues.
Step-by-Step Drop-out Fuse Mechanical Malfunction Diagnosis
Use this sequence on site.
It reduces misdiagnosis and avoids unnecessary replacement.
Step 1: Observe the Exact Failure Action
Do not just say “it won’t close.”
Record the exact action: rebound, hang, slip, side rub, or stop before latch. This first observation often points directly to the fault category.
Step 2: Confirm Mounting Angle and Alignment
Check whether the assembly is too vertical.
Verify the unit is installed at about 25° inclined where applicable and that the force path is centered through the closing motion.
Step 3: Test Structural Rigidity of Crossarm and Bracket
Watch the support during an attempted close.
If the bracket or crossarm moves first, fix that before touching the fuse tube. This is a key step in drop-out fuse mechanical malfunction diagnosis.
Step 4: Inspect Hinge, Latch, and Contact Surfaces
Look closely for wear, burrs, corrosion, and bending.
Do not rely on visual checks from one angle only. Many latch problems are only obvious from the side.
Step 5: Recheck Closing Technique and Tool Position
Confirm the hot-stick and operator are applying force along the intended path.
One simple field correction is often enough: raise the push line, remove side load, and complete the final locking motion cleanly.
Real-World Discussion Insights From Reddit, Quora, and Field Communities
Across technician forums, utility discussions, and field maintenance groups, the same patterns repeat.
The most common reports are not dramatic failures. They are subtle, frustrating ones: “looks aligned but will not latch,” “worked after tightening hardware,” and “retrofit installs closer to vertical fail more often.” These are consistent with what I have seen during site inspections and cutout evaluations.
Common User Complaint: “It Almost Closes, Then Kicks Back”
This complaint appears again and again in community discussions.
That symptom usually points to one of four things: insufficient final force, wrong installation angle, latch misalignment, or structural movement. It is a high-value clue for troubleshooting fuse cutout contact failure.
Repeated Field Observation: Support Looseness Is Misdiagnosed as Fuse Defect
This is an industry pain point.
Crews under time pressure often replace the fuse tube first because it is visible and accessible. But many user-reported cases improved only after bracket tightening or support repair. In plain terms: the structure was the defect, not the fuse cutout.
Non-Obvious Site Detail: Closing Success Changes With Pole Vibration and Wind
This detail is easy to miss.
On marginal installations, light pole vibration, crossarm sway, or gusting wind can change whether the latch catches. I have seen the same unit close once, then fail twice, only because the support was on the edge of acceptable rigidity. That kind of inconsistency is a strong sign of structural or geometric trouble, not random operator error.
Typical Failure Scenarios and Corrective Actions
| Symptom | Root Cause | Field Verification Method | Repair Action | Recurrence Risk |
|---|---|---|---|---|
| Almost closes, then rebounds | Insufficient final force | Check push path and operator angle | Correct closing technique, reduce friction | Medium |
| Fails repeatedly on retrofit pole | Overly vertical mounting | Measure inclination | Reset to about 25° inclined | Low after correction |
| Assembly shakes during closing | Loose bracket/crossarm | Observe hardware under load | Tighten, reinforce, or replace support | Low to medium |
| Tube drags or sticks | Hinge wear or oxidation | Close-range mechanical inspection | Clean, repair, or replace worn parts | Medium |
| Contact misses latch line | Misalignment or deformation | Sightline check from front and side | Realign or replace affected parts | Low |
Inspection Priority for Medium-Voltage Drop-out Fuse Operation Issues
| Check Item | Speed | Likelihood | Safety Impact | Repair Cost | Priority |
|---|---|---|---|---|---|
| Observe exact failure motion | Very fast | High | High | None | 1 |
| Check mounting angle | Fast | High | High | Low | 2 |
| Check support rigidity | Fast | High | High | Low to medium | 3 |
| Inspect hinge/latch surfaces | Medium | Medium | Medium | Low to medium | 4 |
| Replace fuse tube | Medium | Lower than assumed | Medium | Medium | 5 |

Best-Practice Solution Framework for Closing Failure Analysis
Use a simple decision logic.
Check structure and mechanics before replacing parts. This is the most reliable way to reduce repeat service calls.
Fix the Force Path First
Correct the push direction first.
Confirm proper tool position. Reduce hinge drag. Remove side loading. If the closing force reaches the latch correctly, many “bad fuse” cases disappear.
Correct the Mounting Geometry
If the installation is too vertical, reset it.
For many field applications, about 25° inclined is the practical reference that improves latching behavior.
Stabilize the Support Structure
Tighten and reinforce before retesting.
If the crossarm or bracket is loose, every other diagnosis becomes unreliable.
Mistakes That Make Fuse Cutout Contact Failure Worse
Forcing closure repeatedly and damaging the latch
Replacing the fuse tube blindly before checking the bracket
Ignoring small support movement during the actual close attempt
Checking from one angle only and missing side misalignment
Assuming electrical fault first when the tube cannot physically seat
Preventive Maintenance Checklist to Avoid Future Closing Failure
Verify installation angle is correct and not overly vertical
Check crossarm, bracket, and bolt tightness regularly
Inspect for corrosion, weld cracking, and base movement
Clean hinge and contact areas where contamination is present
Look for latch wear, burrs, and small deformation
Watch for support vibration during operation
Train operators on correct hot-stick closing path
Document repeated near-latch rebound as a mechanical warning sign
Good maintenance practice should align with manufacturer instructions and recognized standards discipline, including relevant IEEE and IEC requirements for mechanical integrity, installation verification, insulation coordination, and safe operation of medium-voltage outdoor equipment.
FAQ
Why does a drop-out fuse almost close but fail to latch?
Usually because the final locking force is lost through poor push angle, hinge friction, slight misalignment, or movement in the support structure. If it reaches the hook but will not snap in, start with force path and bracket stability.
What is the correct installation angle for a drop-out fuse?
A common practical reference is about 25° inclined, not an overly vertical position. This helps the mechanism close with a better force path and more reliable latch engagement.
Can a loose crossarm really prevent a fuse cutout from closing?
Yes. A loose crossarm or bracket absorbs the applied closing force. The operator feels resistance, but the force is going into structural movement instead of the latch.
Should I replace the fuse tube first if the cutout will not close?
No. First check the force path, installation angle, bracket rigidity, hinge wear, and latch alignment. Many closing failures are mechanical support problems, not tube defects.
How do I diagnose a mechanical closing failure versus an electrical problem?
If the fuse cannot physically seat or latch, begin with mechanical diagnosis. Observe movement, geometry, support rigidity, friction points, and alignment before suspecting electrical causes.
What field detail is most often overlooked during troubleshooting?
Slight bracket, base, or crossarm movement that only appears during the actual closing attempt. Many crews miss it because they watch the fuse tube only, not the full structure.
Use a 3-Point Check Before You Replace Anything
Most closing failures come back to three checks: force, angle, support.
If the drop-out fuse will not close, do not start by blaming the tube. First confirm that the closing force is reaching the latch, the unit is installed at the proper inclination, and the crossarm or bracket is rigid. That simple sequence solves a large share of real causes of fuse cutout not closing faster and with less wasted replacement cost.
Need a Faster Drop-out Fuse Failure Diagnosis Process?
Use this checklist with your maintenance team and standardize your on-site inspection steps before replacing parts.
If you want help selecting a reliable drop-out fuse, reviewing installation geometry, or building a faster failure diagnosis process for your line crews, send us an inquiry or contact us directly on WhatsApp. We can help you reduce repeat outages, avoid wrong replacements, and improve field closing success.