Why a Switchgear Diagram Ensures Accurate Quotation

October 11, 2025

Why a Switchgear Diagram Ensures Accurate Quotation

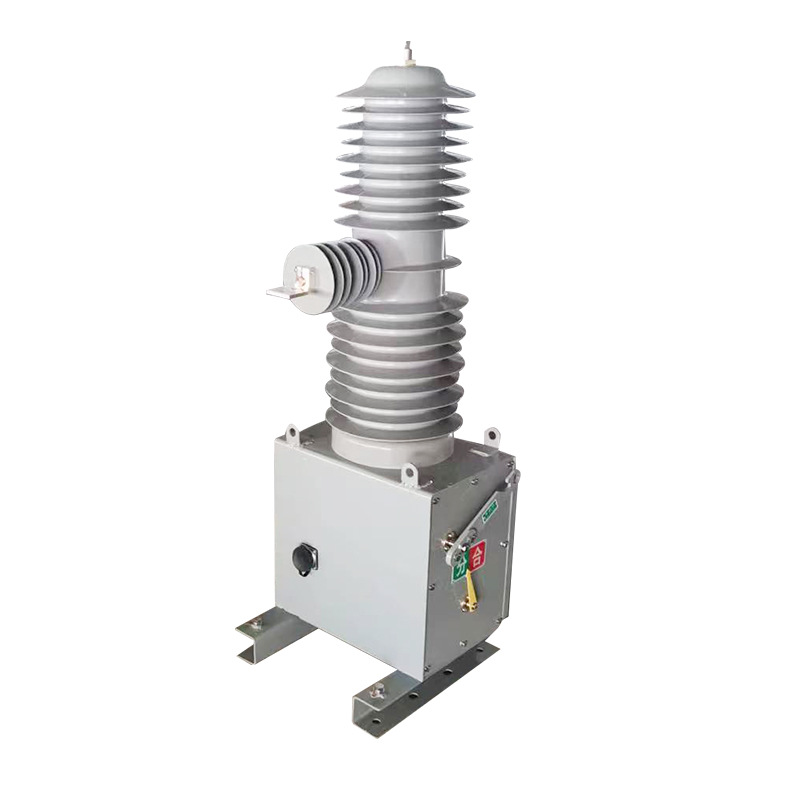
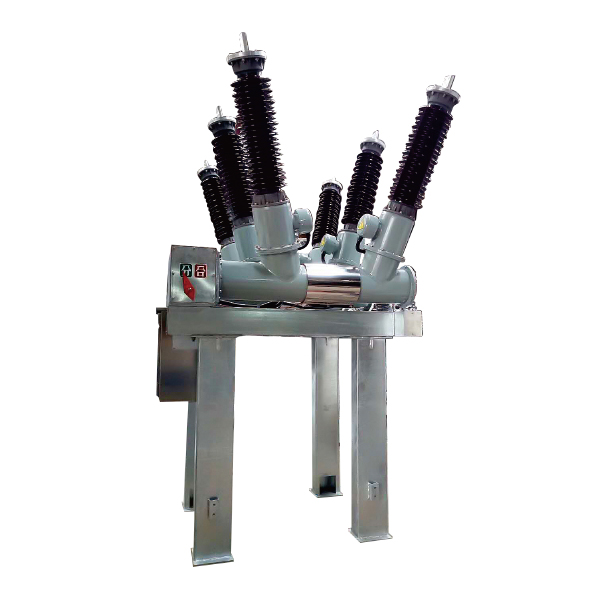
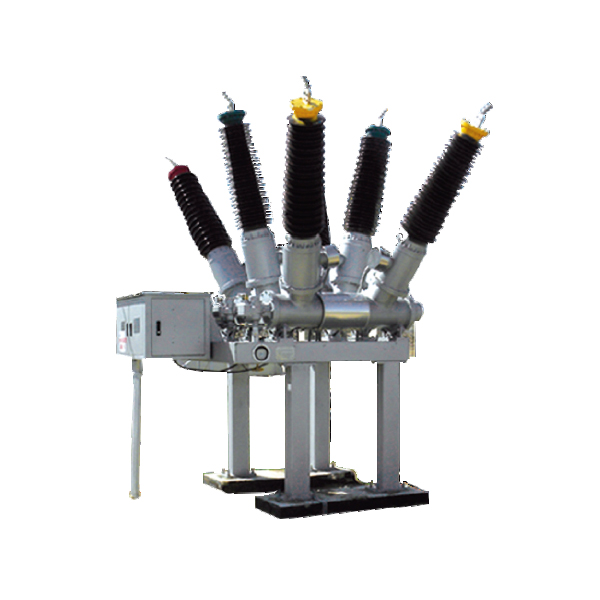
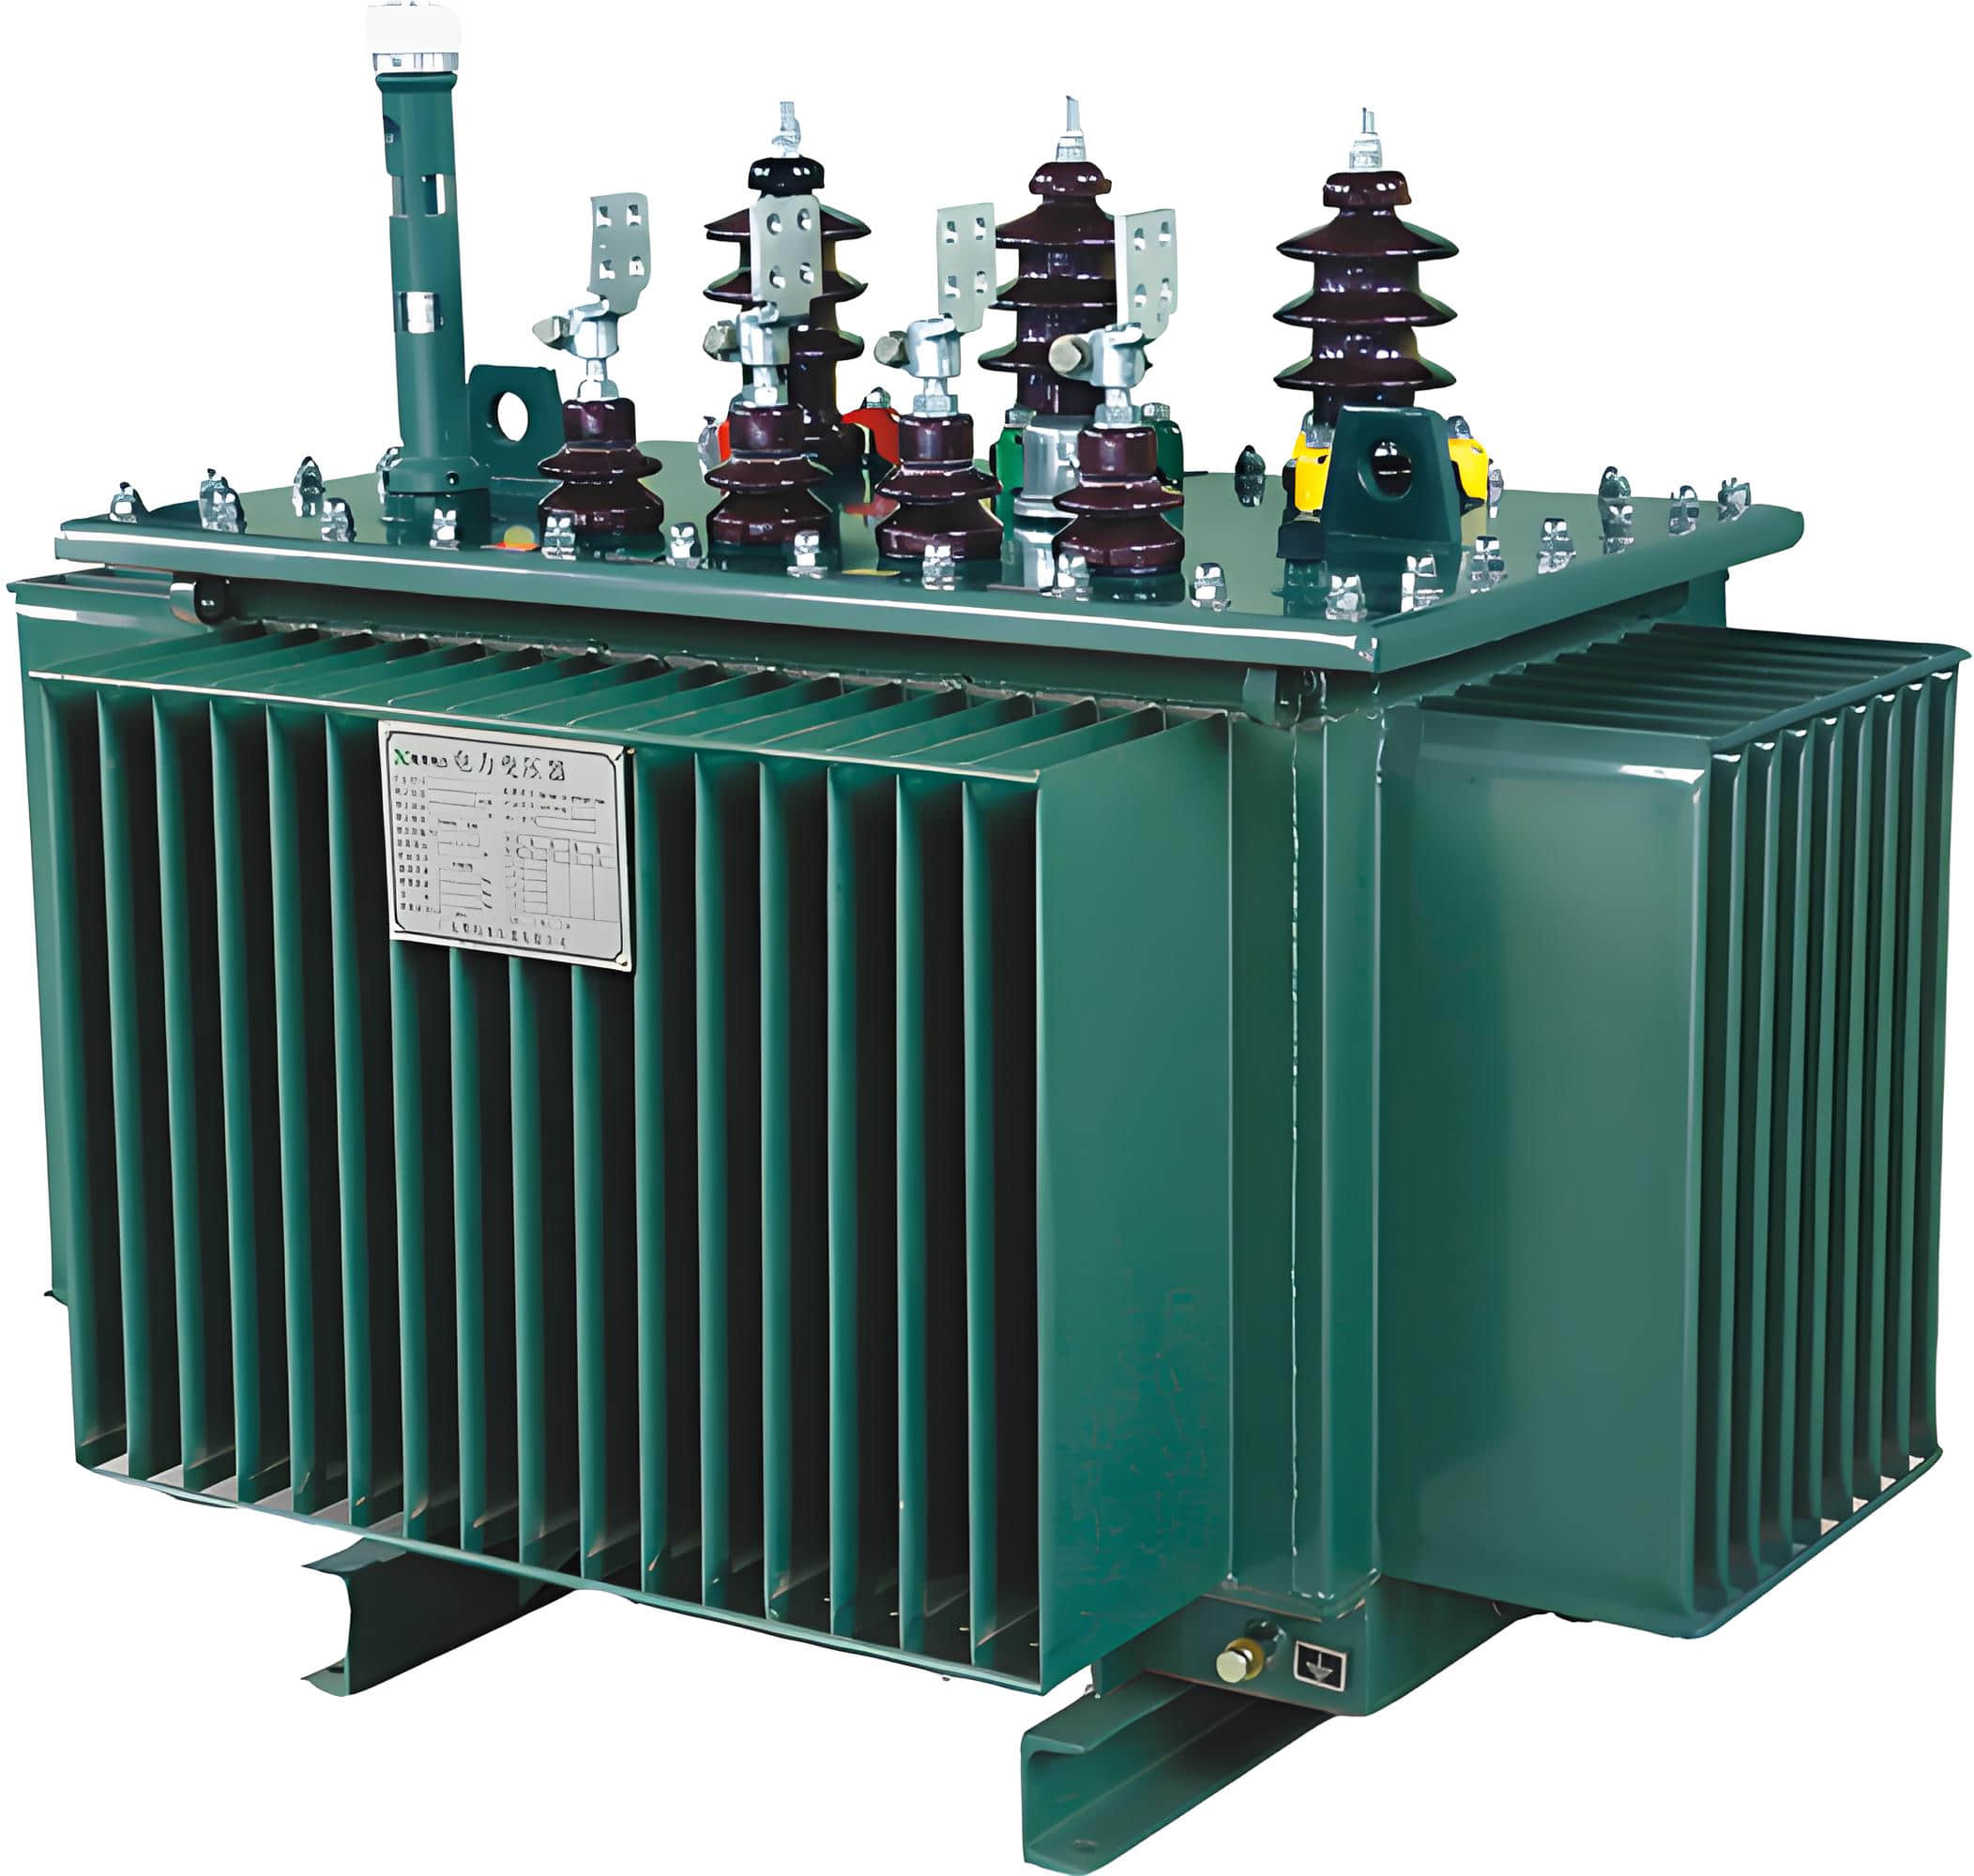
You need a clear switchgear diagram before you ask for or issue a power distribution quote. Electrical switchgear controls, protects, and isolates equipment. It includes circuit breakers, busbars, and more from companies like Schneider Electric and Siemens.

A switchgear diagram can be in many forms. These include single-line diagrams and layout drawings. They show how electrical systems are connected and what they look like. This helps make sure your power distribution quote is accurate.

Without a detailed diagram, estimators have to guess about equipment and costs. This guessing can lead to higher costs and delays. A correct diagram gives clear, reliable information for planning and budgeting.

This section is for electrical engineers and project managers in the United States. By asking for a detailed switchgear diagram, you get a more accurate quote. This reduces project risks and improves planning.

Key Takeaways

  • A switchgear diagram is essential for a dependable electrical estimating process.

  • Diagrams list components and ratings from vendors such as Schneider Electric and Siemens.

  • Single-line, schematic, and layout drawings provide measurable inputs for a power distribution quote.

  • Relying on assumptions increases the likelihood of expensive change orders.

  • Insisting on diagrams improves material takeoffs, bid comparisons, and project scheduling.

What an electrical switchgear diagram shows and why it matters

Clear diagrams are key to making drawings into accurate bids. They list switchgear components and show how they connect. This clarity reduces confusion in your estimates and keeps costs fair.

Overview of components and symbols in a switchgear diagram

A typical diagram highlights the main breaker, feeder breakers, and busbars. It also shows disconnects, transformers, and protective relays from brands like Schweitzer Engineering Laboratories (SEL), Siemens, and GE. Meters from Schneider Electric and ABB are noted near grounding points and MCC sections.

Electrical symbols follow IEEE and ANSI standards. A legend or symbol key is included to ensure everyone understands the drawing. This prevents mistakes in interpreting device functions and ratings.

How single-line and schematic diagrams differ

A single-line diagram gives a quick overview of the system's layout and ratings. It displays phases, transformers, and protective devices in a simple format. It's useful for sizing and checking system coordination.

A schematic diagram focuses on control wiring and interlocks. It lists terminal numbers and wire colors needed for installation. Use it for planning control panels and installation tasks.

Choose the single-line diagram for electrical sizing and the schematic for control details. Both are essential for a complete, accurate quote.

Why component-level detail reduces guesswork in quotations

Knowing exact breaker types and sizes helps avoid vague estimates. This detail reduces the need for extra contingency items and improves lead-time estimates.

With specific part numbers and configurations, vendors can confirm availability and delivery times. This leads to more accurate labor estimates and fewer surprises during procurement and installation.

How diagrams improve accuracy in material takeoffs

Why a Switchgear Diagram Ensures Accurate Quotation

A clear switchgear diagram gives you a factual basis for every line item in a material takeoff. When you start from drawings, you can count devices instead of guessing. This tightens budgets and shortens lead-time risk.

Identifying exact quantities and types

Use the diagram to enumerate breaker quantity by frame size, trip setting, and accessory kits. You can list MCC buckets, fused switches, and spare spaces for future expansion. The same drawing that shows feeder routing lets you capture buswork sizing: number of phases, conductor sizes, and whether copper or aluminum busbar is required.

Protective device list items become explicit when CT ratios, VT specs, and relay types are labeled on the plan. That clarity supports coordination studies and prevents later discovery of missing protection components.

Reducing waste and avoiding underordering

Diagram-driven lists stop you from ordering generic or oversized parts that add cost. Precise quantities help you order correct lug kits, termination kits, conduit fittings, and conduit runs. That level of detail lowers scrap, avoids emergency procurement, and keeps schedules intact.

Routing shown on diagrams produces accurate control wiring lengths and conduit schedules. You avoid excess material and reduce on-site rework when the switchgear takeoff matches the installed reality.

Integrating manufacturer part numbers and ratings

Include exact manufacturer part numbers and ratings in your list so quotes reflect true cost and lead time. For example, specifying Siemens 3WL, Schneider Electric Square D, or Eaton Cutler-Hammer breakers with voltage class and interrupting rating removes ambiguity from bids.

When a protective device list pairs with part numbers and trip curves, vendors price to the same spec and warranty terms align with the equipment chosen. That approach streamlines procurement and simplifies post-installation service.

ItemDiagram Detail CapturedBenefit to Material Takeoff
BreakersFrame size, trip curve, manufacturer part numberAccurate breaker quantity and correct pricing
BusworkPhases, conductor size, material (Cu/Al), clearancesPrecise buswork sizing and reduced fabrication errors
ProtectionCT ratio, VT spec, relay type, and countComplete protective device list for coordination studies
AccessoriesLug kits, termination kits, conduit lengthsMinimized waste and fewer field change orders

Electrical switchgear in defining system ratings and specifications

Looking at a switchgear diagram, you see important numbers. These numbers tell you the system voltage and current at each point. You learn about the nominal voltages, maximum continuous current, and the fault current.

These figures help you choose the right equipment. This avoids the need for expensive replacements later.

Standards like IEEE C37 and NFPA 70E guide testing and labeling. A diagram with actual AIC or kA values makes checking easier. You can see if a device meets the test levels before buying it.

When you see protection coordination on the diagram, you can plan better. You can make sure only the right parts trip, reducing outages. The diagram shows relay types, settings, and time, helping you plan with tools like ETAP.

Transformer sizing depends on the load mix and diversity shown. You need to consider nameplate loads, motor starting currents, and duty cycles. Choosing the wrong transformer size can cause voltage drop and overheating.

Cable sizing follows NEC ampacity rules and must consider fault levels and ambient derating. Diagrams that show conductor runs and fault current help with accurate sizing. Getting this wrong can lead to overheated conductors or failed insulation.

Choosing the right switchgear enclosure is important. It depends on the internal layout, ventilation needs, and site environment. A diagram showing internal components helps you pick the correct NEMA type and clearances. Choosing the wrong enclosure can delay commissioning.

Design ItemDiagram Detail NeededImpact on Procurement
Short-circuit ratingAvailable fault current (AIC/kA) at equipment pointsSelect breakers/fuses with the correct interrupting capacity
System voltageNominal voltages and step-down/up pointsEnsure transformer and switchgear compatibility
Protection coordinationRelay types, settings, and coordination zonesDetermine the need for adjustable trip units and selective protection
Transformer sizingLoad profiles, diversity, and motor starting dataCorrect kVA selection to avoid overloads
Cable sizingLoad currents, fault levels, ampacity derating factorsChoose conductor sizes that meet NEC and fault criteria
Enclosure selectionInternal layout, ventilation, and environmental classificationPick NEMA-rated enclosures that fit site conditions

How diagrams help assess site and installation constraints

A clear switchgear diagram gives you a fast view of on-site limits. It shows the equipment footprint, required clearances, and how units will fit within your room or yard. This detail helps you plan flooring, access routes, and any building modifications before ordering gear.

Why a Switchgear Diagram Ensures Accurate Quotation

You use the drawing to confirm the NEC 110.26 working spaces and maintenance aisles. The diagram flags front and rear access needs, door swings, and exact orientation. These items affect rigging plans, lift points, and temporary protection during installation.

Environmental needs appear on the same diagram, so you can pick the right NEMA enclosure. Outdoor sites, coastal facilities, and food-processing plants call for different finishes, seals, and corrosion-resistant hardware. HVAC, internal heaters, or desiccants for indoor cabinets are easier to specify when you see climate exposure on the plan.

Compatibility with existing systems becomes obvious when diagrams show connections to buswork, transformer taps, and grounding. You can spot conflicts with steel columns, sprinkler lines, and cable trays early. This reduces surprises when contractors bring in backbone components.

When you plan a retrofit switchgear project, diagrams lay out demolition zones, temporary power routing, and sequencing to avoid downtime. For hospitals and data centers, the drawing supports staged cutovers and live-transfer strategies so patient care and servers stay online.

Use the switchgear layout as a coordination tool with mechanical, structural, and fire-protection teams. Doing so shortens reviews, tightens schedules, and cuts the chance that unexpected site work will drive up costs.

Cost drivers that become visible with a switchgear diagram

Looking at a detailed switchgear diagram, you quickly see the main cost drivers. It shows where expensive copper or aluminum buswork runs. It also points out where motor control centers and arc-flash mitigation systems are needed. These visual cues help you understand the big costs and spot potential increases before bidding.

Why a Switchgear Diagram Ensures Accurate Quotation

The diagram clearly shows the high-cost items. Custom buswork with complex bends and tap-offs is expensive. Arc-resistant enclosures and arc-rotor devices add to the cost of arc-flash mitigation. Large MCCs with integrated drives and advanced relays also increase the price.

The diagram also helps estimate labor costs. It shows the need for mounting orientation, cable routing, and inter-unit connections. Dense control wiring or multiple relay cabinets increase commissioning time. You need to budget for electrician and technician labor, relay setting, and coordination work. Regional wages and public project rules will adjust these costs.

Logistics and rigging needs become clear when you map weights and dimensions. Oversized panels and narrow doorways require special handling, adding to costs. You might need cranes, forklifts, or temporary floor reinforcement. Long lead times for oversized freight and special packaging also affect the schedule and cost.

Here's a quick reference to compare how diagram details affect pricing. The table highlights contrasts to help you focus on what to verify on each drawing.

Diagram DetailTypical ImpactWhat to Verify
Complex bus routing and multiple tap-offsHigher custom buswork cost; more fabrication hoursMaterial size, bending radius, connection types
Arc-resistant or arc-containment zonesIncreased arc-flash mitigation cost; extra testingRequired protection schemes, incident energy targets
Large MCCs with drives and draw-out unitsElevated MCC pricing; longer assembly timeFrame size, drive integration, accessibility needs
Tight equipment clearances or tight site accessAdded rigging costs and special transport chargesDoor sizes, elevator capacity, crane requirements
High interrupting ratings or specialized relaysPremium on short-circuit hardware and protectionInterrupting duty, vendor part numbers, firmware needs

How diagrams reduce risk and change orders during construction

Clear switchgear diagrams act as a reliable guide before work starts. They help spot issues like spatial conflicts and missing wiring. This early detection reduces construction risks and lowers the cost of change orders.

Why a Switchgear Diagram Ensures Accurate Quotation

Diagrams help identify clashes between different trades. For example, finding a mismatched conduit entry or an impossible breaker access area. Fixing these issues before work starts prevents costly change orders.

Diagram reviews can catch missing ground references or omitted control wiring. You can then correct specifications, order the right parts, and update drawings. This reduces the number of Requests for Information (RFIs) and keeps the project on schedule.

Early detection

Coordinated reviews with engineers and contractors can catch many issues. These include clearance problems, conduit routing errors, and panel orientation conflicts. Solving these problems before work starts saves time and money.

Smoother permitting and inspection

Detailed diagrams make the permitting process faster. Authorities can quickly verify equipment ratings and short-circuit data. This reduces the need for revisions and makes electrical inspections smoother.

When drawings show NEC compliance and clear schedules, you build trust with building officials. Faster approvals mean less delay and lower project costs.

Lower likelihood of expensive site rework

Accurate diagrams lead to fewer issues at commissioning. This means fewer on-site design fixes, fewer warranty claims, and a smoother handover. You can save money by reducing RFIs, overtime hours, and expedited shipping costs.

Good documentation supports commissioning tests and acceptance criteria. This reduces change orders related to functional failures. It protects your budget and keeps the project on track.

Using diagrams to compare vendor bids and specifications

When you give a detailed switchgear diagram, things get clear. Bidders use the same drawing, quantities, and logic. This makes comparing vendors easy and cuts down on price guessing.

Why a Switchgear Diagram Ensures Accurate Quotation

Include a bill of materials, part numbers, and simple notes with the diagram. This ensures equipment specs are clear. It lets you check each bid against what's needed, avoiding hidden costs.

Ask bidders to show standards and documentation for key features. This makes checking for code compliance easier. It also shows if a low bid is missing important devices.

Compare warranties and services side by side. Diagrams with manufacturer models help align warranties. This makes it clear who covers what, from brands like Schneider Electric and ABB.

Request details on testing, support, and spare parts. These affect the total cost and service over time. With these details on the diagram or BOM, you can weigh the cost against the warranty.

Use the checklist below to guide a fair review of proposals. It helps spot the main differences quickly.

Review ItemWhat to VerifyWhy it Matters
Scope and quantitiesMatch BOM to diagram; confirm counts for breakers, buswork, and relaysEnsures true vendor comparison and prevents scope gaps
Equipment specificationsConfirm voltage, ratings, model numbers, and accessoriesPrevents over- or under-specification that impacts cost and performance
Code complianceRequire NEC, IEEE C37, NEMA references, and local amendment confirmationReduces risk of rejected inspections or retrofits
Protective coordinationProvide coordination study or relay settings and SCCR documentationProtects equipment and minimizes nuisance trips
Warranty alignmentCompare warranty length, exclusions, and local service contactsClarifies long-term support and total cost of ownership
Testing & commissioningDetail FAT, site commissioning, and acceptance criteriaEnsures performance before handover and reduces rework

Digital tools and BIM integration for better quotations

Start by using model-based workflows in your estimating process. BIM for switchgear gives you precise geometry and part numbers. This cuts down on guesswork. Revit switchgear models from Siemens or Schneider make counts and spatial checks more reliable.

Use 3D CAD and Revit families to automatically extract quantities and lengths. Model-based schedules in Revit feed directly into your cost database. This reduces manual counting errors and speeds up your response to bids.

Clash detection keeps teams aligned. When electrical models link with structural, mechanical, and plumbing files, you spot routing conflicts early. Tools like Navisworks and BIM 360 streamline coordination workflows so site surprises fall sharply. Version control and shared markups let you show changes to contractors, owners, and engineers with clear traceability.

Run studies that drive smarter pricing. Load flow simulation based on your switchgear diagrams clarifies transformer and breaker ratings. Software such as ETAP and EasyPower performs short-circuit, coordination, and motor-start analyses that inform protection settings. Study results let you avoid overspecifying gear or underprotecting circuits.

Combine model output with simulation to refine estimates. CAD takeoffs supply exact quantities. Revit switchgear models provide spatial and schedule data. Load flow simulation refines sizing and contingency items. The result is a bid that reflects real risk and real materials, not rough assumptions.

CapabilityTypical BenefitExample Tools
Automated quantity extractionFaster, more accurate material lists for quotesRevit families, CAD takeoffs
Clash detection and coordinationFewer on-site conflicts and change ordersNavisworks, BIM 360
Load flow and fault studiesCorrect equipment sizing and protection selectionETAP, EasyPower, SKM
Model-based schedulesConsistent bills of material and manufacturer dataRevit switchgear models, manufacturer families
Version control and markupsTransparent communication across teamsBIM 360, shared cloud repositories

Best practices for creating a switchgear diagram that yields precise quotes

Begin your project with clear goals for scope, schedule, and cost. Early alignment saves time and prevents guesswork when bidders prepare estimates. Use a single source of truth so every party references the same drawing set.

Invite power systems engineers, electrical contractors, and manufacturers' application engineers to joint sessions. Bring owners or facility managers when decisions affect operations or lead times. These workshops improve collaboration and reduce surprises later.

Engage in design-build reviews and value-engineering meetings to balance performance and price. Discuss lead times for major items and impacts to the bill of materials so procurement can plan without inflating contingency.

Keep diagrams actionable by adding explicit equipment schedules, legends, and mounting notes. Include breaker schedules, CT/PT listings, and MCC bucket details. Clear notes about clearances and testing cut back on assumptions that skew quotes.

Use standard revision control blocks on every sheet and cloud changes on marked prints. Store files in a document management system such as Procore or SharePoint so bidders never use outdated drawings. This type of revision control protects bid integrity.

Maintain an active change log. When loads change, phasing is revised, or alternate equipment is chosen, update the drawings and the bill of materials. Issue a clear status on each set: “issued for pricing” or “issued for construction.”

Make engineering coordination part of every update. Share changes with all bidders and stakeholders promptly. That keeps quotations comparable and lowers the risk of costly change orders during construction.

  • Hold early multidisciplinary workshops to align expectations and timelines.

  • Embed detailed schedules and notes directly on diagrams for clarity.

  • Apply strict revision control and a single document repository.

  • Track changes with a log and update the bill of materials each time.

  • Communicate every revision to bidders to preserve apples-to-apples quotes.

Common mistakes that lead to inaccurate quotations without diagrams

Skipping a detailed switchgear diagram leads to big problems. You start guessing instead of knowing for sure. This means you might miss important details like special protection or unique connections.

For example, a hospital project went wrong because of bad guesses. The contractor thought they could save money by not including all the necessary parts. But, they had to add expensive fixes later to meet the project's needs.

Another mistake is not doing a coordination study. This study is crucial for sizing and setting up devices correctly. Without it, you risk safety issues and not following important rules.

Not having protection settings documented can also cause delays. You'll spend a lot of time on site adjusting things. This can increase costs and slow down when you can start using the system.

Ignoring site realities is another big mistake. Without diagrams, you might not know about access issues or local rules. This can change how you plan and cost the project.

Imagine a renovation where you didn't plan for heavy equipment access. You ended up spending extra on rigging and safety measures. This added a lot to the final bill and delayed the project.

Using detailed switchgear documents can help avoid these mistakes. They ensure you have all the information you need. This makes it easier to plan and bid on projects accurately.

Conclusion

An accurate electrical switchgear diagram is key to better bids and less risk. It gives clear counts of breakers and system ratings. This clarity helps in pricing and avoids costly changes.

For your team, it means easier comparisons, budgets, and permits. Early involvement of manufacturers and using BIM/CAD tools helps. These steps make the diagram's role clear in the project.

Start by asking for detailed diagrams in bid packages. Make sure schematics include ratings and part numbers. Use trusted vendors and follow standards to ensure quotes are reliable.


FAQ

Why is an electrical switchgear diagram necessary for an accurate quotation?

An electrical switchgear diagram gives you the clear, measurable inputs estimators need. It shows the details of switchgear, like circuit breakers and busbars. Without these details, bidders make assumptions that raise cost risk and lengthen lead times. With an accurate diagram, you get precise material takeoffs and clearer specifications. This leads to better site planning and more reliable bid comparisons. Standards and vendors like IEEE and Schneider Electric provide the reference framework you should rely on.

What components and symbols should I expect to see on a switchgear diagram?

A complete diagram lists main incoming breakers, feeder breakers, busbars, disconnects, CTs/VTs, and protective relays. Diagrams use IEEE/ANSI-standard symbols, so a legend or symbol key is essential for accurate interpretation. Including manufacturer part numbers and relay models makes the diagram actionable for pricing and procurement, which ensures accurate coordination studies.

How do single-line and schematic wiring diagrams differ and when do I use each?

Single-line diagrams show system topology and phases; they are ideal for system-level sizing, material takeoffs, electrical sizing, and bid comparisons. Schematic wiring and control diagrams detail interlocks, auxiliary contacts, terminal numbers, and wire colors—use them to define control scope, labor planning, and installation tasks.

How do diagrams improve accuracy in material takeoffs?

Diagrams let you enumerate exact quantities and types (e.g., breaker frame sizes, trip units) and include manufacturer part numbers—this ensures quotes reflect real product cost and lead time. It prevents overordering expensive items or underordering essentials, keeping material takeoffs accurate and reliable.

How do diagrams define system ratings and protection requirements?

Diagrams specify nominal voltages, continuous currents, relay types, and settings needed for protection coordination—this affects the need for adjustable trip units and ground-fault protection. Proper ratings prevent undersized cables, insufficient interrupting capacity, and enclosure mismatches.

How do switchgear diagrams help assess site and installation constraints?

Layout drawings indicate required clearances, access routes, and environmental needs (e.g., HVAC or heater requirements). For retrofits, diagrams expose interfaces with existing buswork and structural elements, helping plan temporary power and minimize downtime in critical facilities (like hospitals or data centers). They also reveal conflicts with steel columns, sprinkler lines, or cable trays early.

What cost drivers become visible when you have a switchgear diagram?

Diagrams highlight high-cost items like custom buswork, arc-flash mitigation systems, and large MCCs with integrated drives. They also reveal labor complexity (e.g., dense control wiring) and logistics challenges (e.g., oversized panels needing special rigging). Knowing these early lets you budget for freight, regional labor variations, and prevailing wage impacts on public projects.

How do diagrams reduce risk and change orders during construction?

Detailed diagrams enable early clash detection between trades (e.g., conduit entry conflicts) before mobilization. They simplify permitting and inspections by showing equipment ratings and short-circuit calculations, reducing RFIs, overtime, and punch-list items. This clarity also supports smoother commissioning and fewer warranty claims.

How can diagrams be used to compare vendor bids fairly?

Providing a single, detailed diagram ensures all bidders price the same scope, enabling apples-to-apples comparisons. Diagrams make it straightforward to verify NEC, IEEE, and NEMA compliance, and confirm warranty/service alignment with manufacturers. Require bidders to cite standards and provide interrupting-rating documentation to avoid low bids that omit required devices.

What digital tools improve quotation accuracy when combined with diagrams?

CAD and Revit families (e.g., manufacturer-specific Revit switchgear models) let you extract exact counts and cable lengths. BIM platforms like Navisworks/BIM 360 enable clash detection across disciplines. Simulation tools such as ETAP and EasyPower use diagram inputs for load flow/fault studies, directly influencing equipment sizing and pricing.

What are best practices for creating diagrams that yield precise quotes?

Collaborate early with power systems engineers and contractors; include clear notes, equipment schedules, and manufacturer part numbers. Use document management systems (e.g., Procore, SharePoint) for strict revision control, and mark drawings “issued for pricing” vs. “issued for construction.” Update diagrams with a change log and communicate revisions to all bidders to preserve bid integrity.

What common mistakes lead to inaccurate quotations when diagrams are missing or incomplete?

Relying on generic assumptions can undercount breakers or miss harmonic mitigation; skipping coordination/arc-flash studies risks wrong device selection and costly rework. Overlooking site-specific challenges (e.g., equipment access in retrofits) can produce significant schedule and cost overruns, especially for projects needing temporary power or phased sequencing.


Thor
Thor is a senior electrical engineer with 12 years of experience, currently working at Weisho Electric Co., Ltd. He has extensive expertise in medium- and high-voltage electrical equipment and has built a strong reputation in the industry. As a columnist for leading publications, he shares valuable insights and analysis. With a deep understanding of electrical technology and a passion for knowledge sharing, Thor is a trusted authority for professionals and enthusiasts alike.

Quick Inquiry